NEW FEATURE ALERT: Agreements, Indemnity forms, Permission Slips & Waivers
You spoke and we listened. The Karri team have been working on this term’s exciting new feature which allows teachers to add agreements, indemnity forms, permission slips & waivers to their Karri collections.
It’s time to wave goodbye to paper permission slips and indemnity forms and hello to a digital checklist for your class that updates automatically when forms are ticked/signed off by the parent.
Adding agreements, indemnity forms, permission slips & waivers to a Karri collection allows a parent to easily tick and fill in the necessary details whilst paying for the collection. There is no further hassle of a child having to remember their permission slip or teachers tirelessly following up on missing documents.
Using this feature on Karri is simple and can save you so much time, check out our step by step tutorial below:
The Agreements tab can be used for a number of forms which include: Agreements, Indemnity forms, Permission Slips, Waivers, Terms, Disclaimers, Licenses and more.
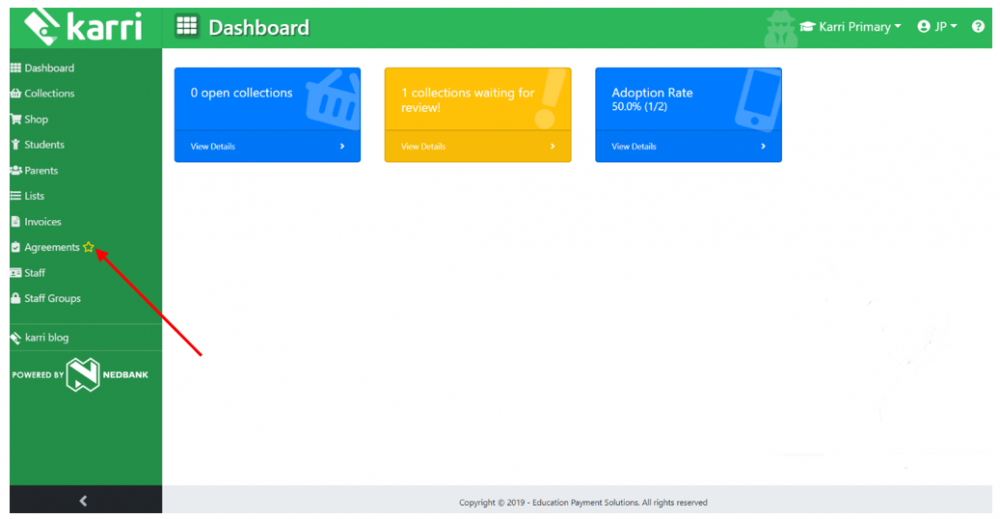
Click the Agreements tab on the left-hand side of your dashboard.
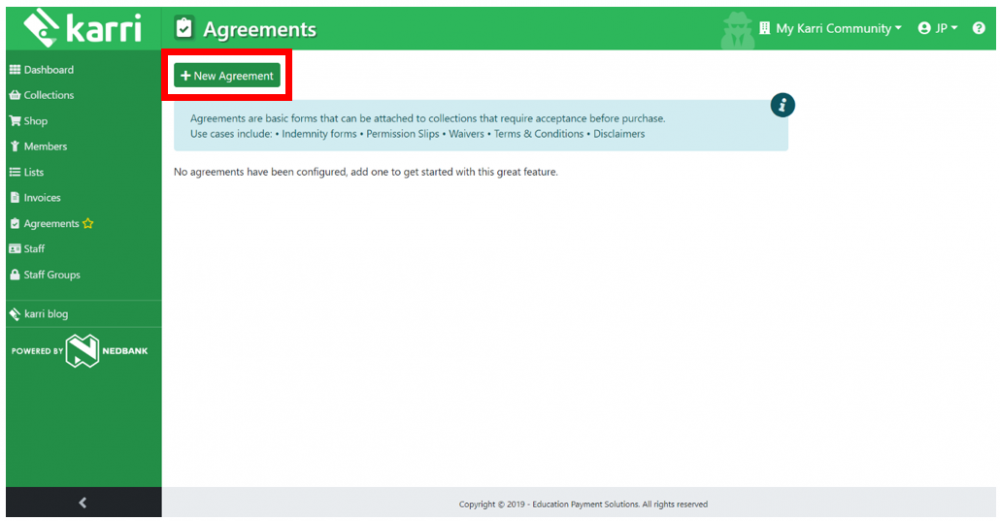
You will then be directed to the Agreements Manager where you will be able to create agreements by selecting + New Agreement.
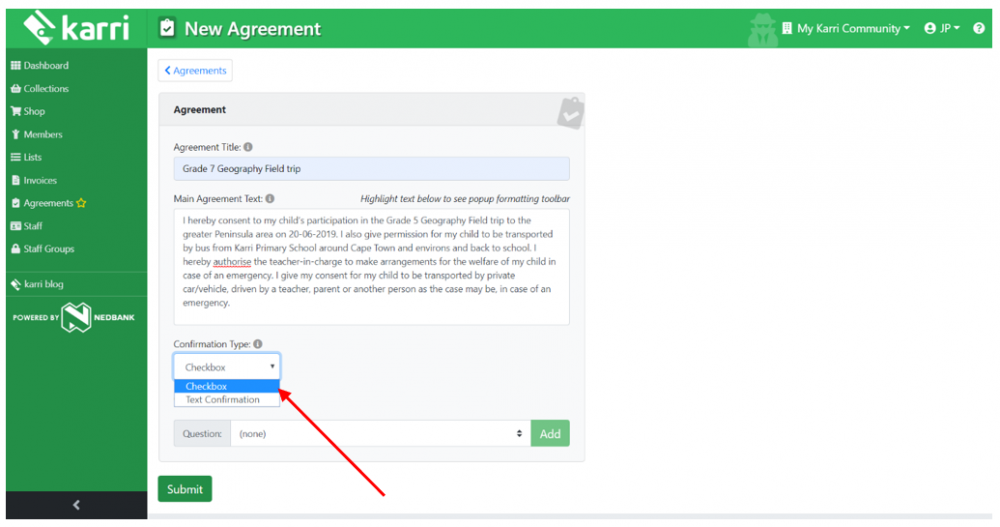
Next, name the agreement and enter in the main text. The text in the Main text area should only include details of the agreement and must not contain any spaces for signatures. Select whether you would like confirmation of the agreement to be given via Checkbox or text Confirmation.
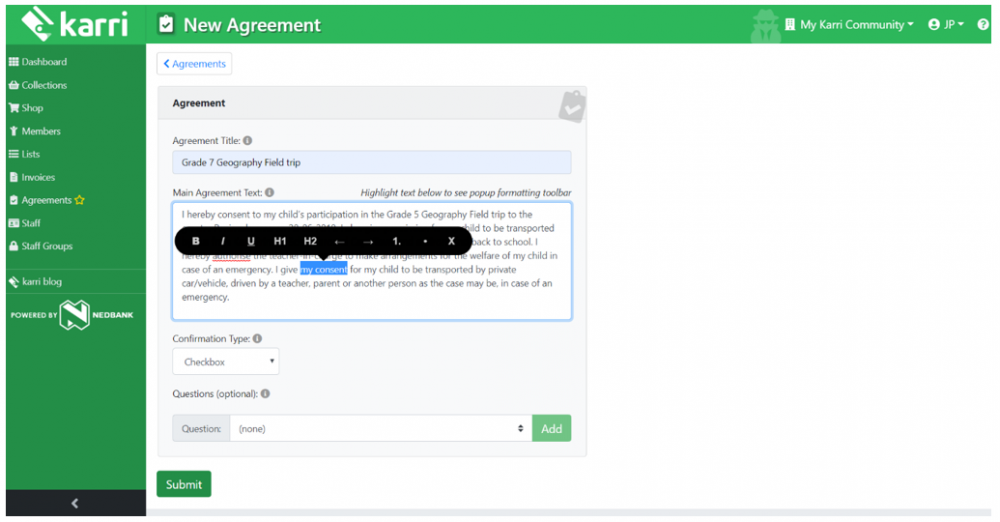
To use the formatting toolbar, highlight the text in the main text area.
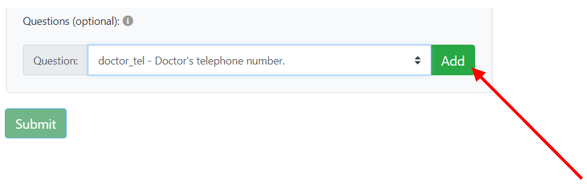
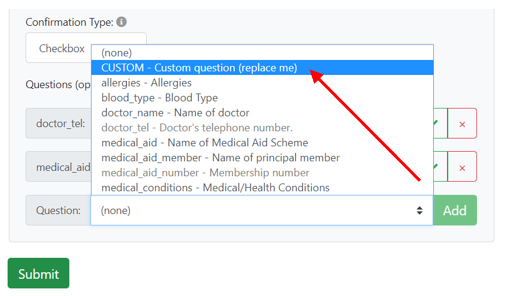
To add a question to the agreement, click on the question field.
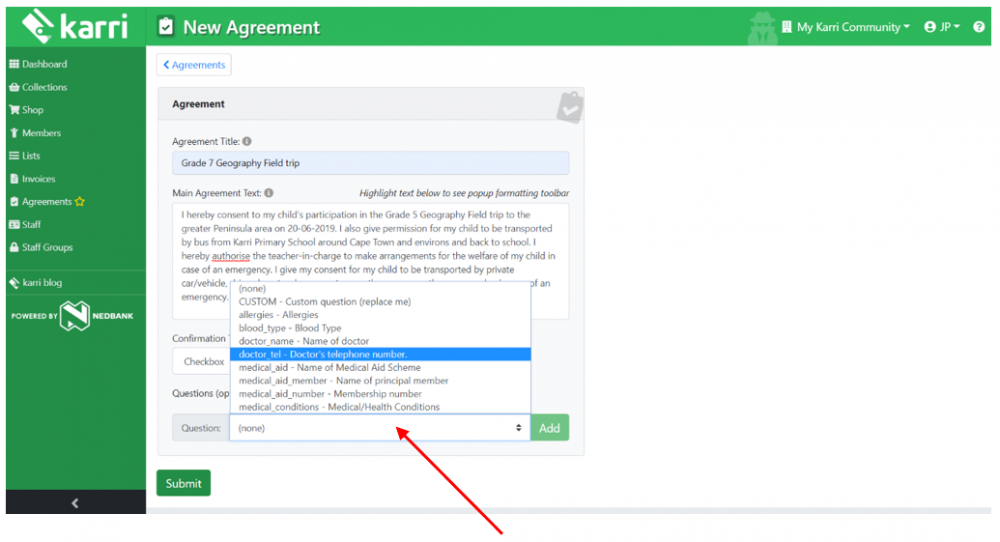
Select a question.
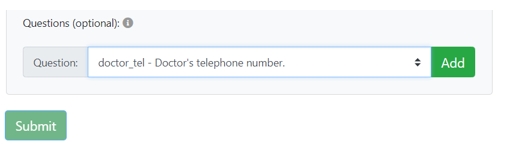
The submit button will not turn green until you click the Add button.
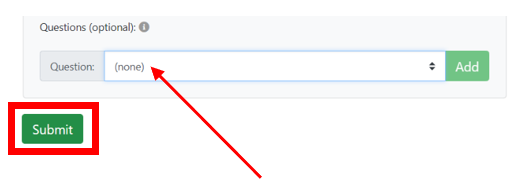
If you would like the submit button to return to green, without adding a question, simply select (none).
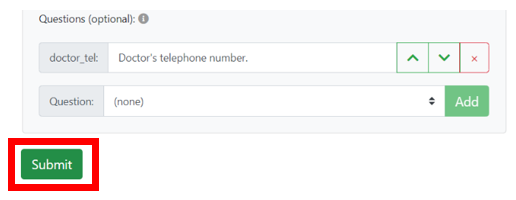
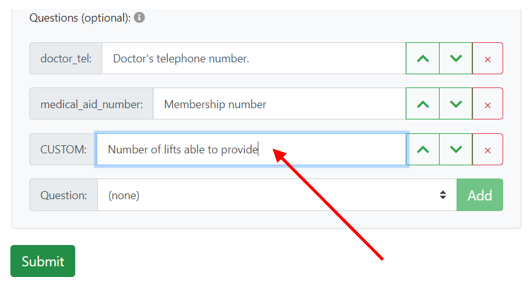
Keep adding questions and clicking the Add button until all of your required questions are on the agreement.

The text for the question can only be edited once the add button has been clicked.
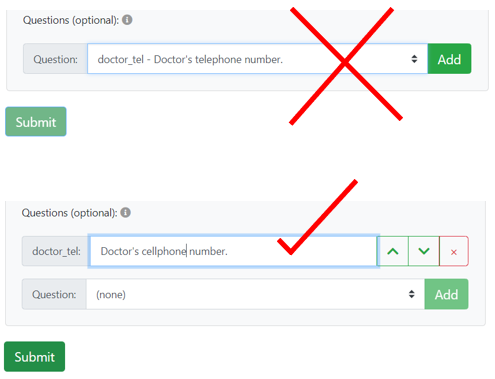
To add a custom question select custom question from the menu and click Add.
The custom question can now be edited to display your custom question.
Click submit once you are ready for the agreement to be saved.

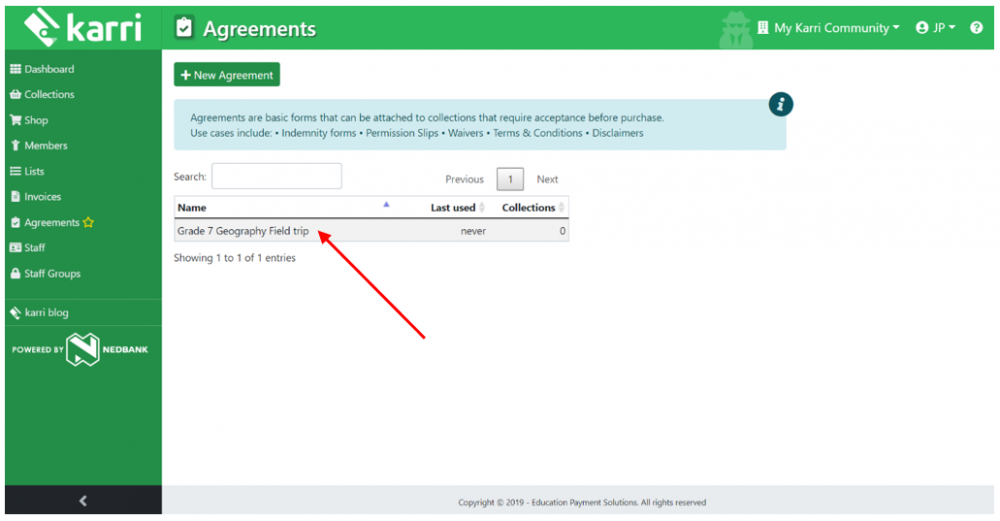
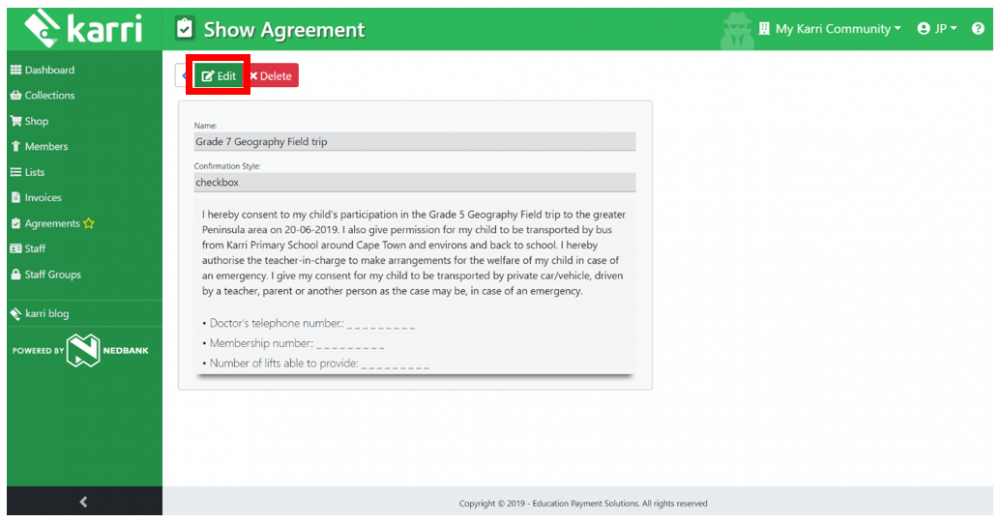
Your agreement is now visible on the Agreements Manager.
An agreement can only be deleted if it has not been used before.
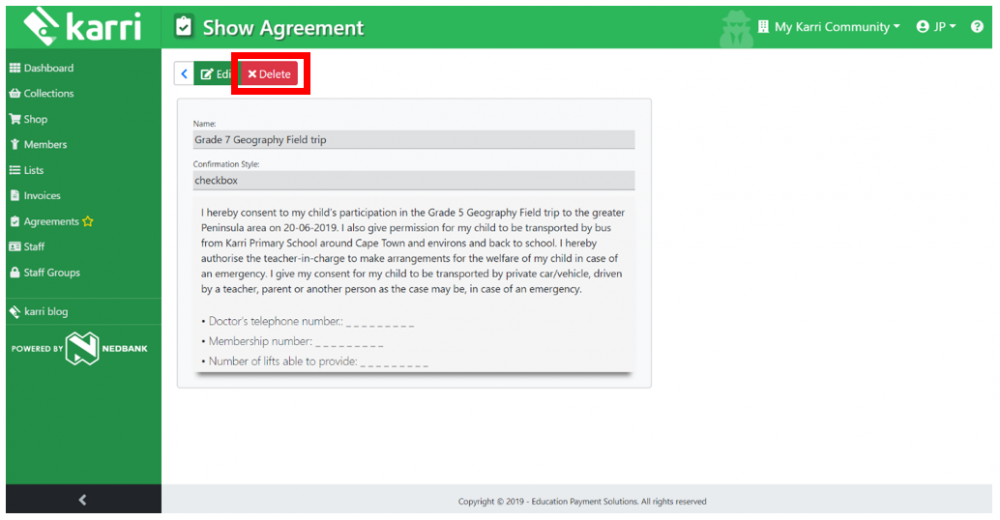
An agreement can be edited at any time, even if it has already been used with a collection. Please consider these changes as part of your own version control, in terms of which students have signed what agreement.
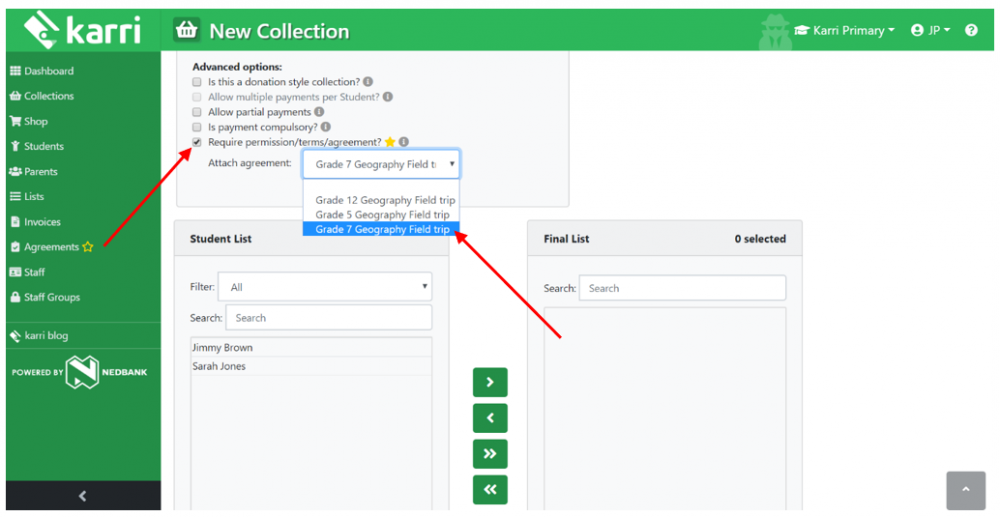
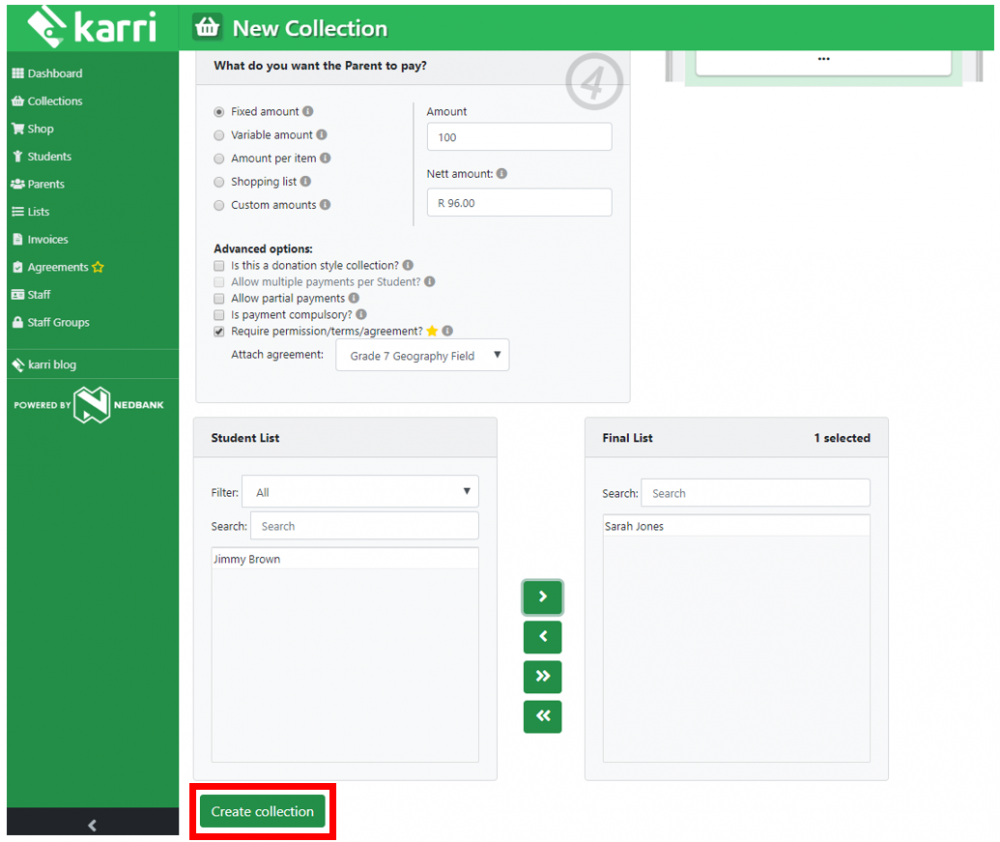
Next, create a collection as per normal on the new collection screen. To attach an agreement to the collection, tick the checkbox for Require permission/terms/agreement at the bottom left of the page. Select the agreement to be attached from the drop down menu.
Click Create collection, at the bottom of the page.
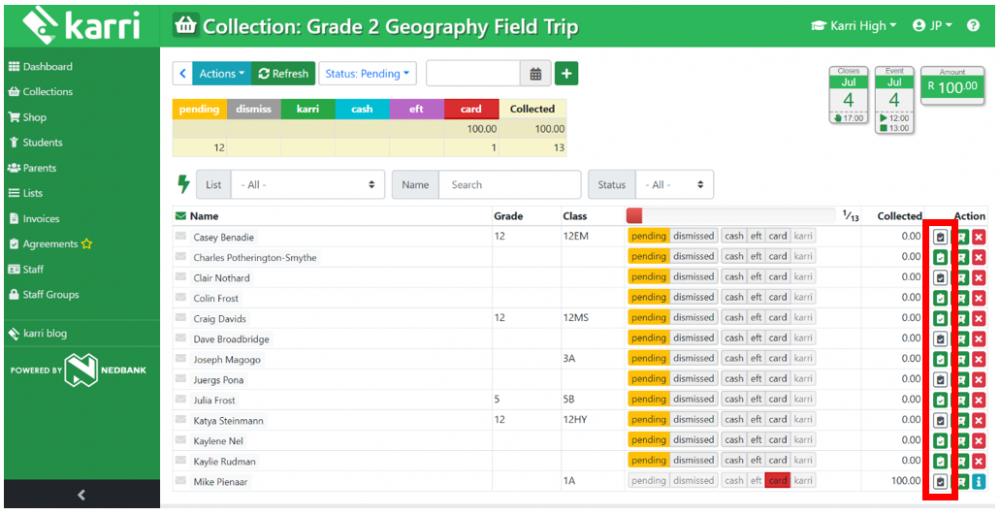
On the collection screen this icon will remain black until the agreement is signed.
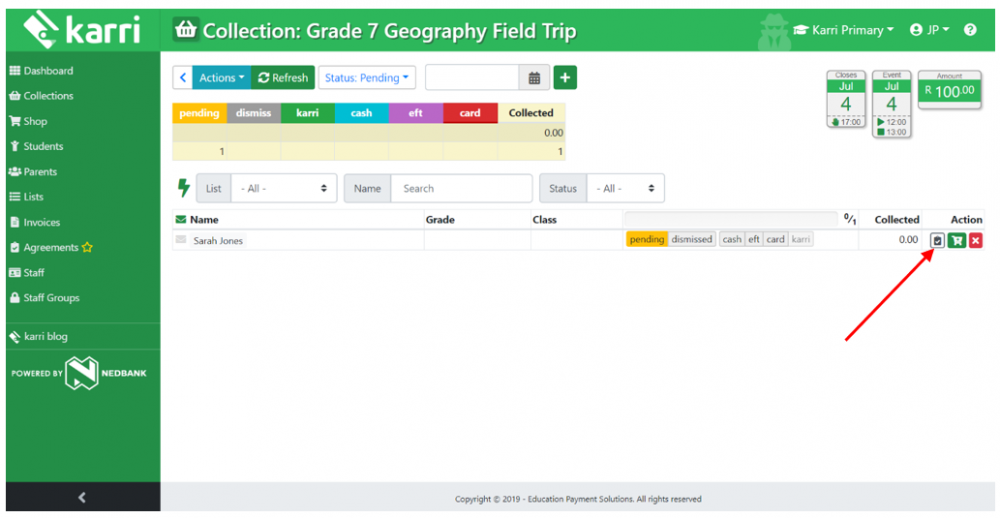
Once the parent has accepted the agreement on the app, the icon will turn green to indicate that the agreement has been accepted.
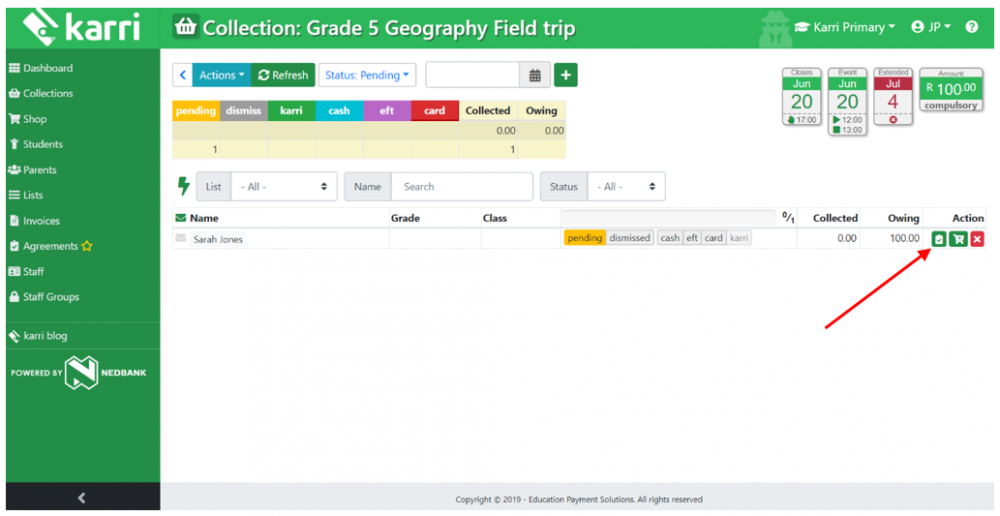
This agreement can be manually accepted on the dashboard by clicking on the icon.
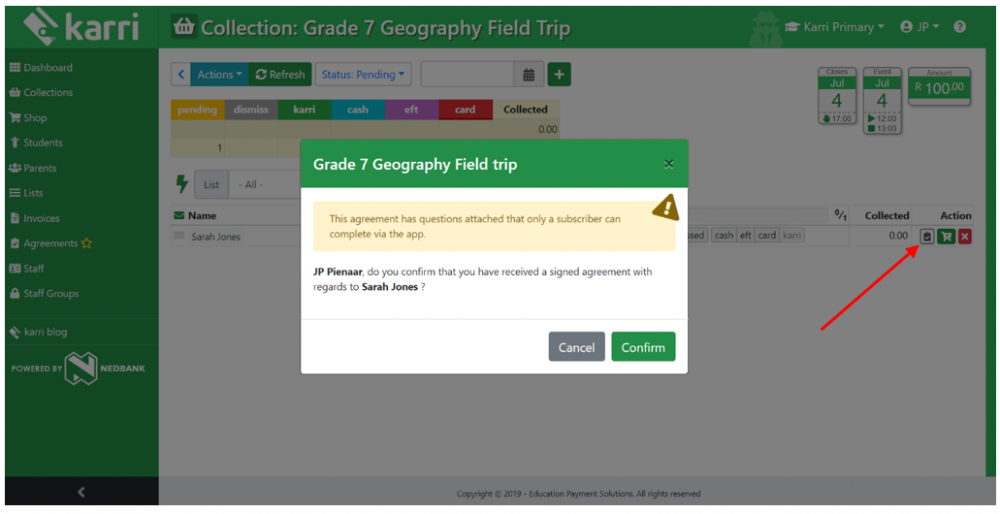
Clicking confirm will accept the agreement manually and mark the agreement icon as green on the dashboard to indicate that the agreement has been signed.


Please note that marking an agreement as signed on the dashboard means that the parent has not had the opportunity to complete the questions in the agreement on the Karri app. Therefore the agreement on your system will not contain answers to the questions.
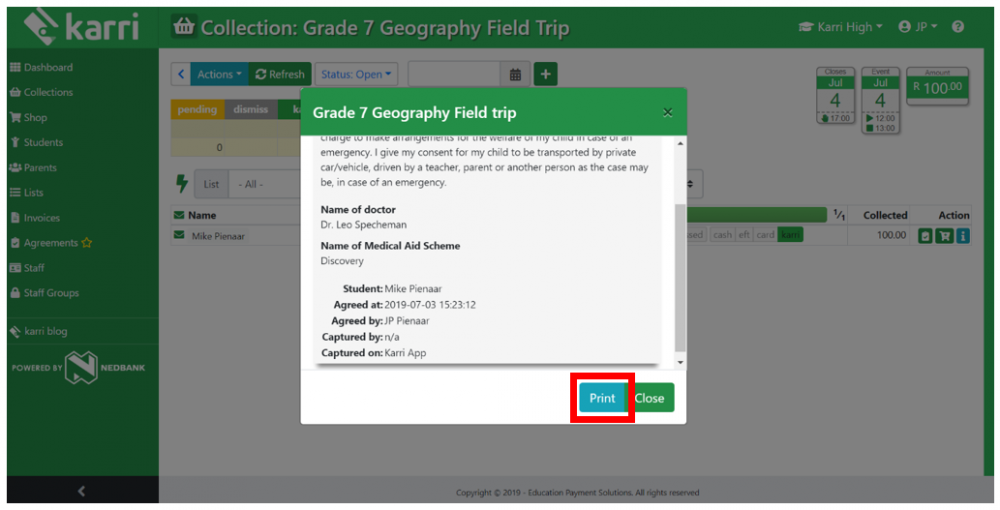
Whereas, if the parent completes the answers to the questions in the agreement on the app, this information is now available to display on the dashboard.
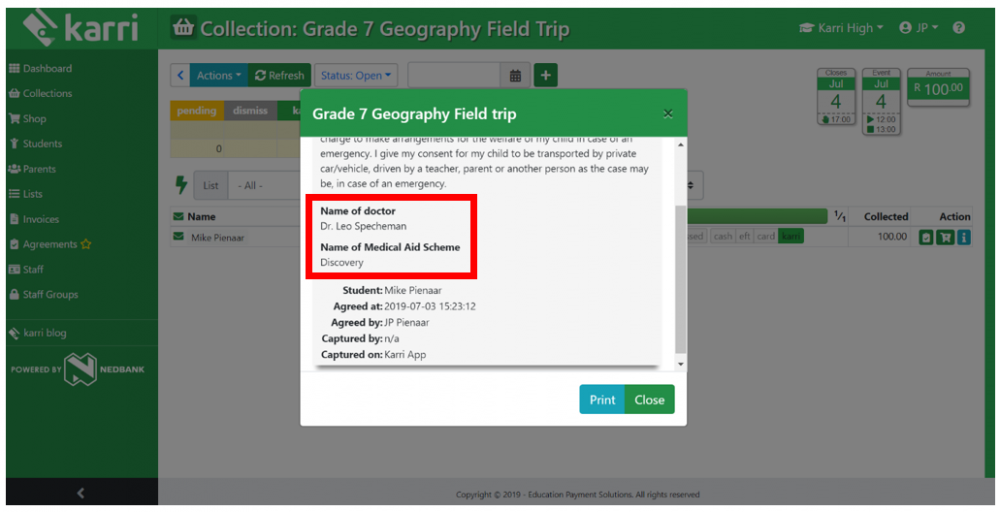
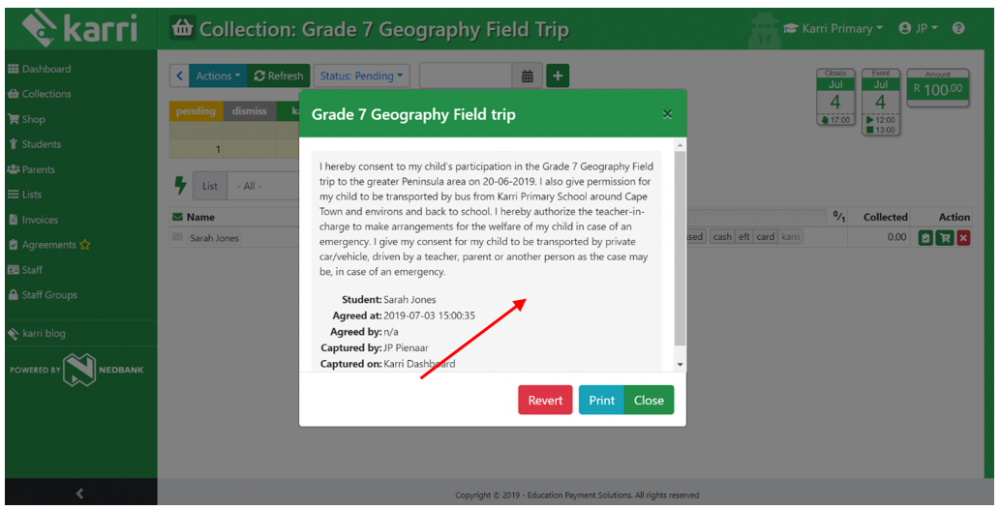
To print the agreement from the dashboard click on the print button.
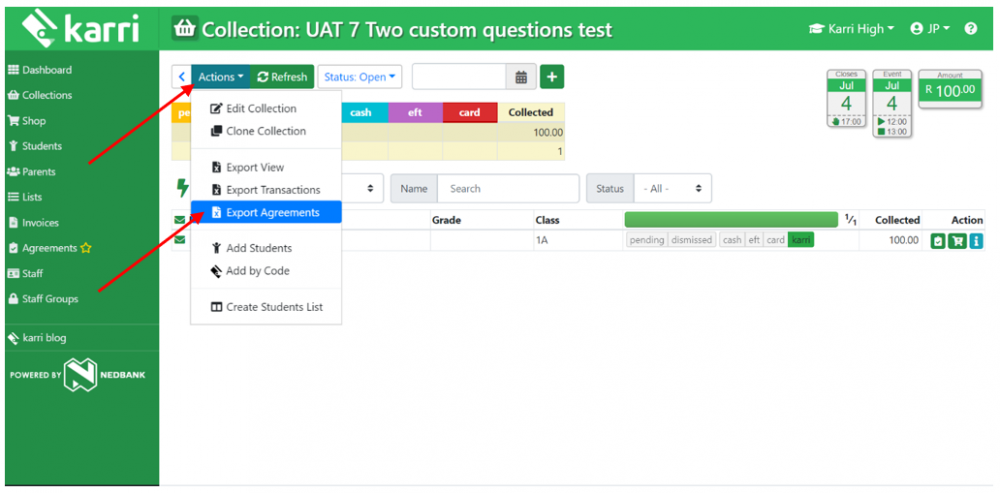
The answers to the agreements can be exported in an Excel file by clicking Actions and then Export Agreements, at the top left of the page.
If there is no agreement attached to a collection, then there will be no agreement icon on the far right of the screen. (Agreements can be attached to a collection on the new collection screen).

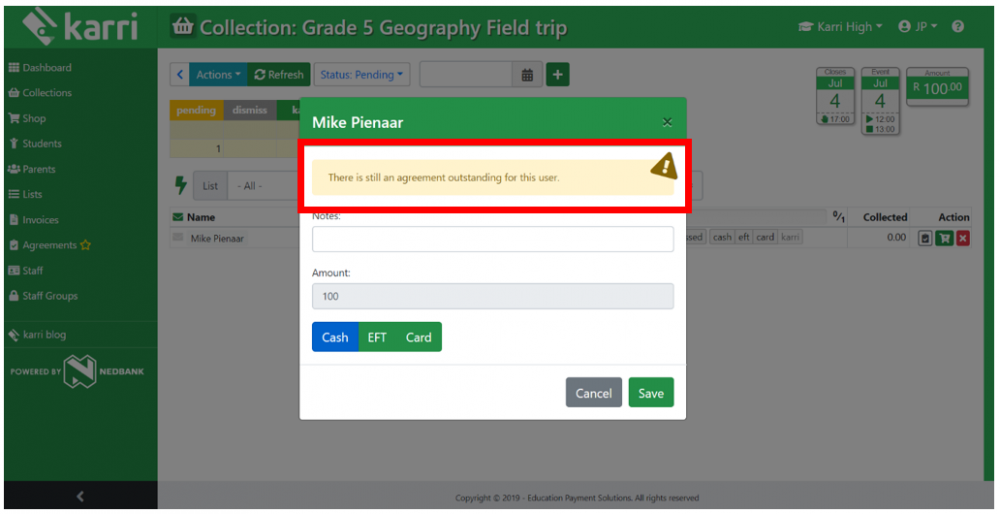
If a collection has an agreement attached to it and you try to mark it as paid before the agreement is signed, you will see a warning at the top of this screen to indicate that the agreement has not been signed yet.
If you select to continue and mark the student as paid, the agreement icon will remain black until the agreement is signed or marked as signed manually on the dashboard.
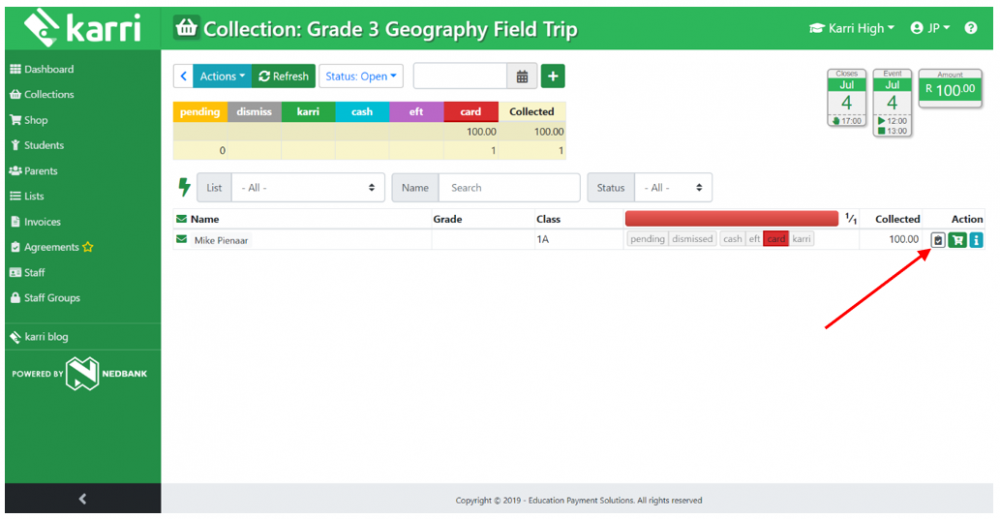
If you would like to remove the agreement from a student’s name (in case you have marked it as signed, by mistake), click on the revert button.
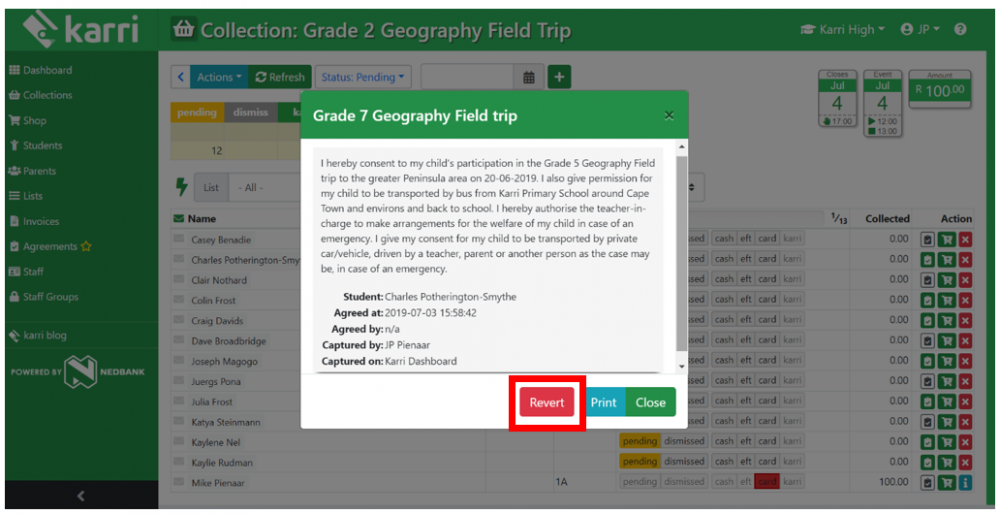
The agreement icon will return to un-signed for that student. Please note that the revert button can only be used up to 30 minutes after the agreement was marked as signed on the dashboard. It cannot be used if an agreement was signed on the app.

The collections screen can now be used to view who has and hasn’t signed the agreement for a collection.
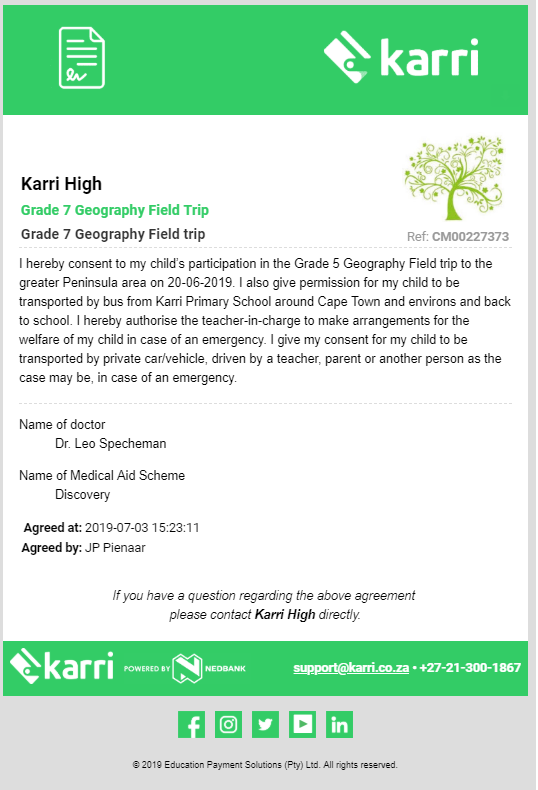
Parents will receive an e-mail with the details of the agreement included.