Creating Shopping Lists On Karri
Our newest feature on Karri allows you to create shopping list collections. These kinds of collections are perfect for textbook collections, stationery collections, fun-days, concerts, sports tours, Matric clothing and much more!
On this blog, we’ll guide you through the steps on how to create a Shopping List Collection on Karri.
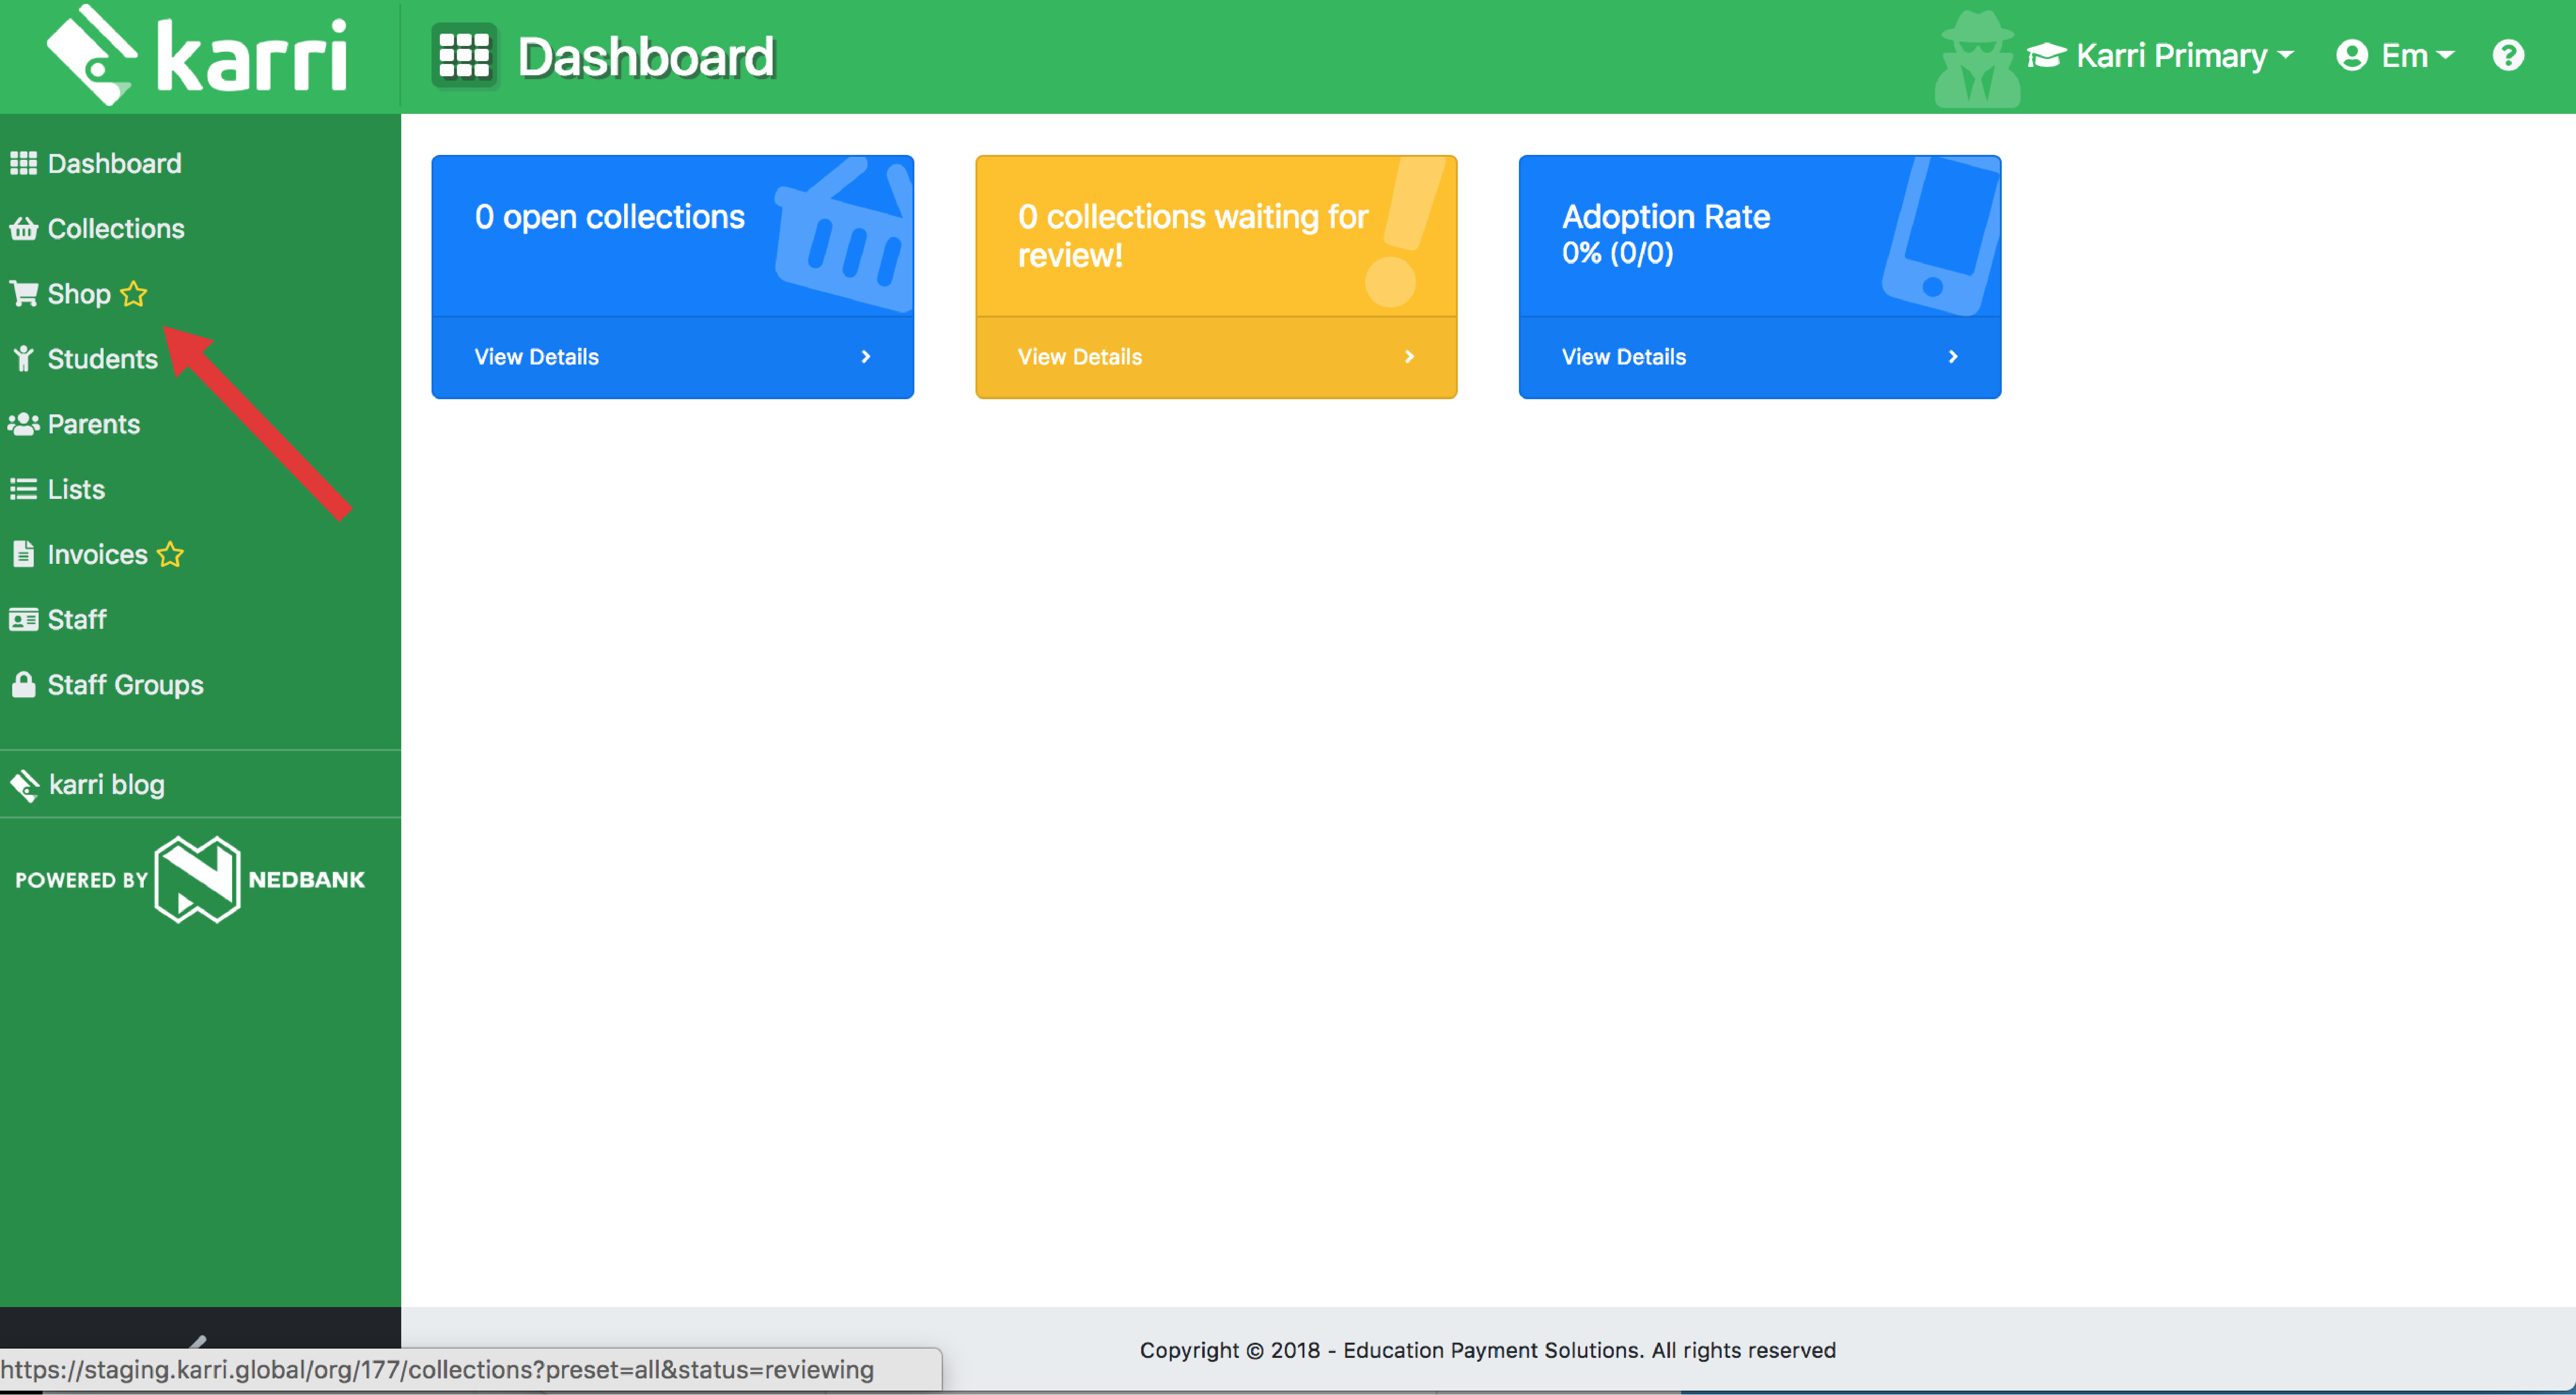
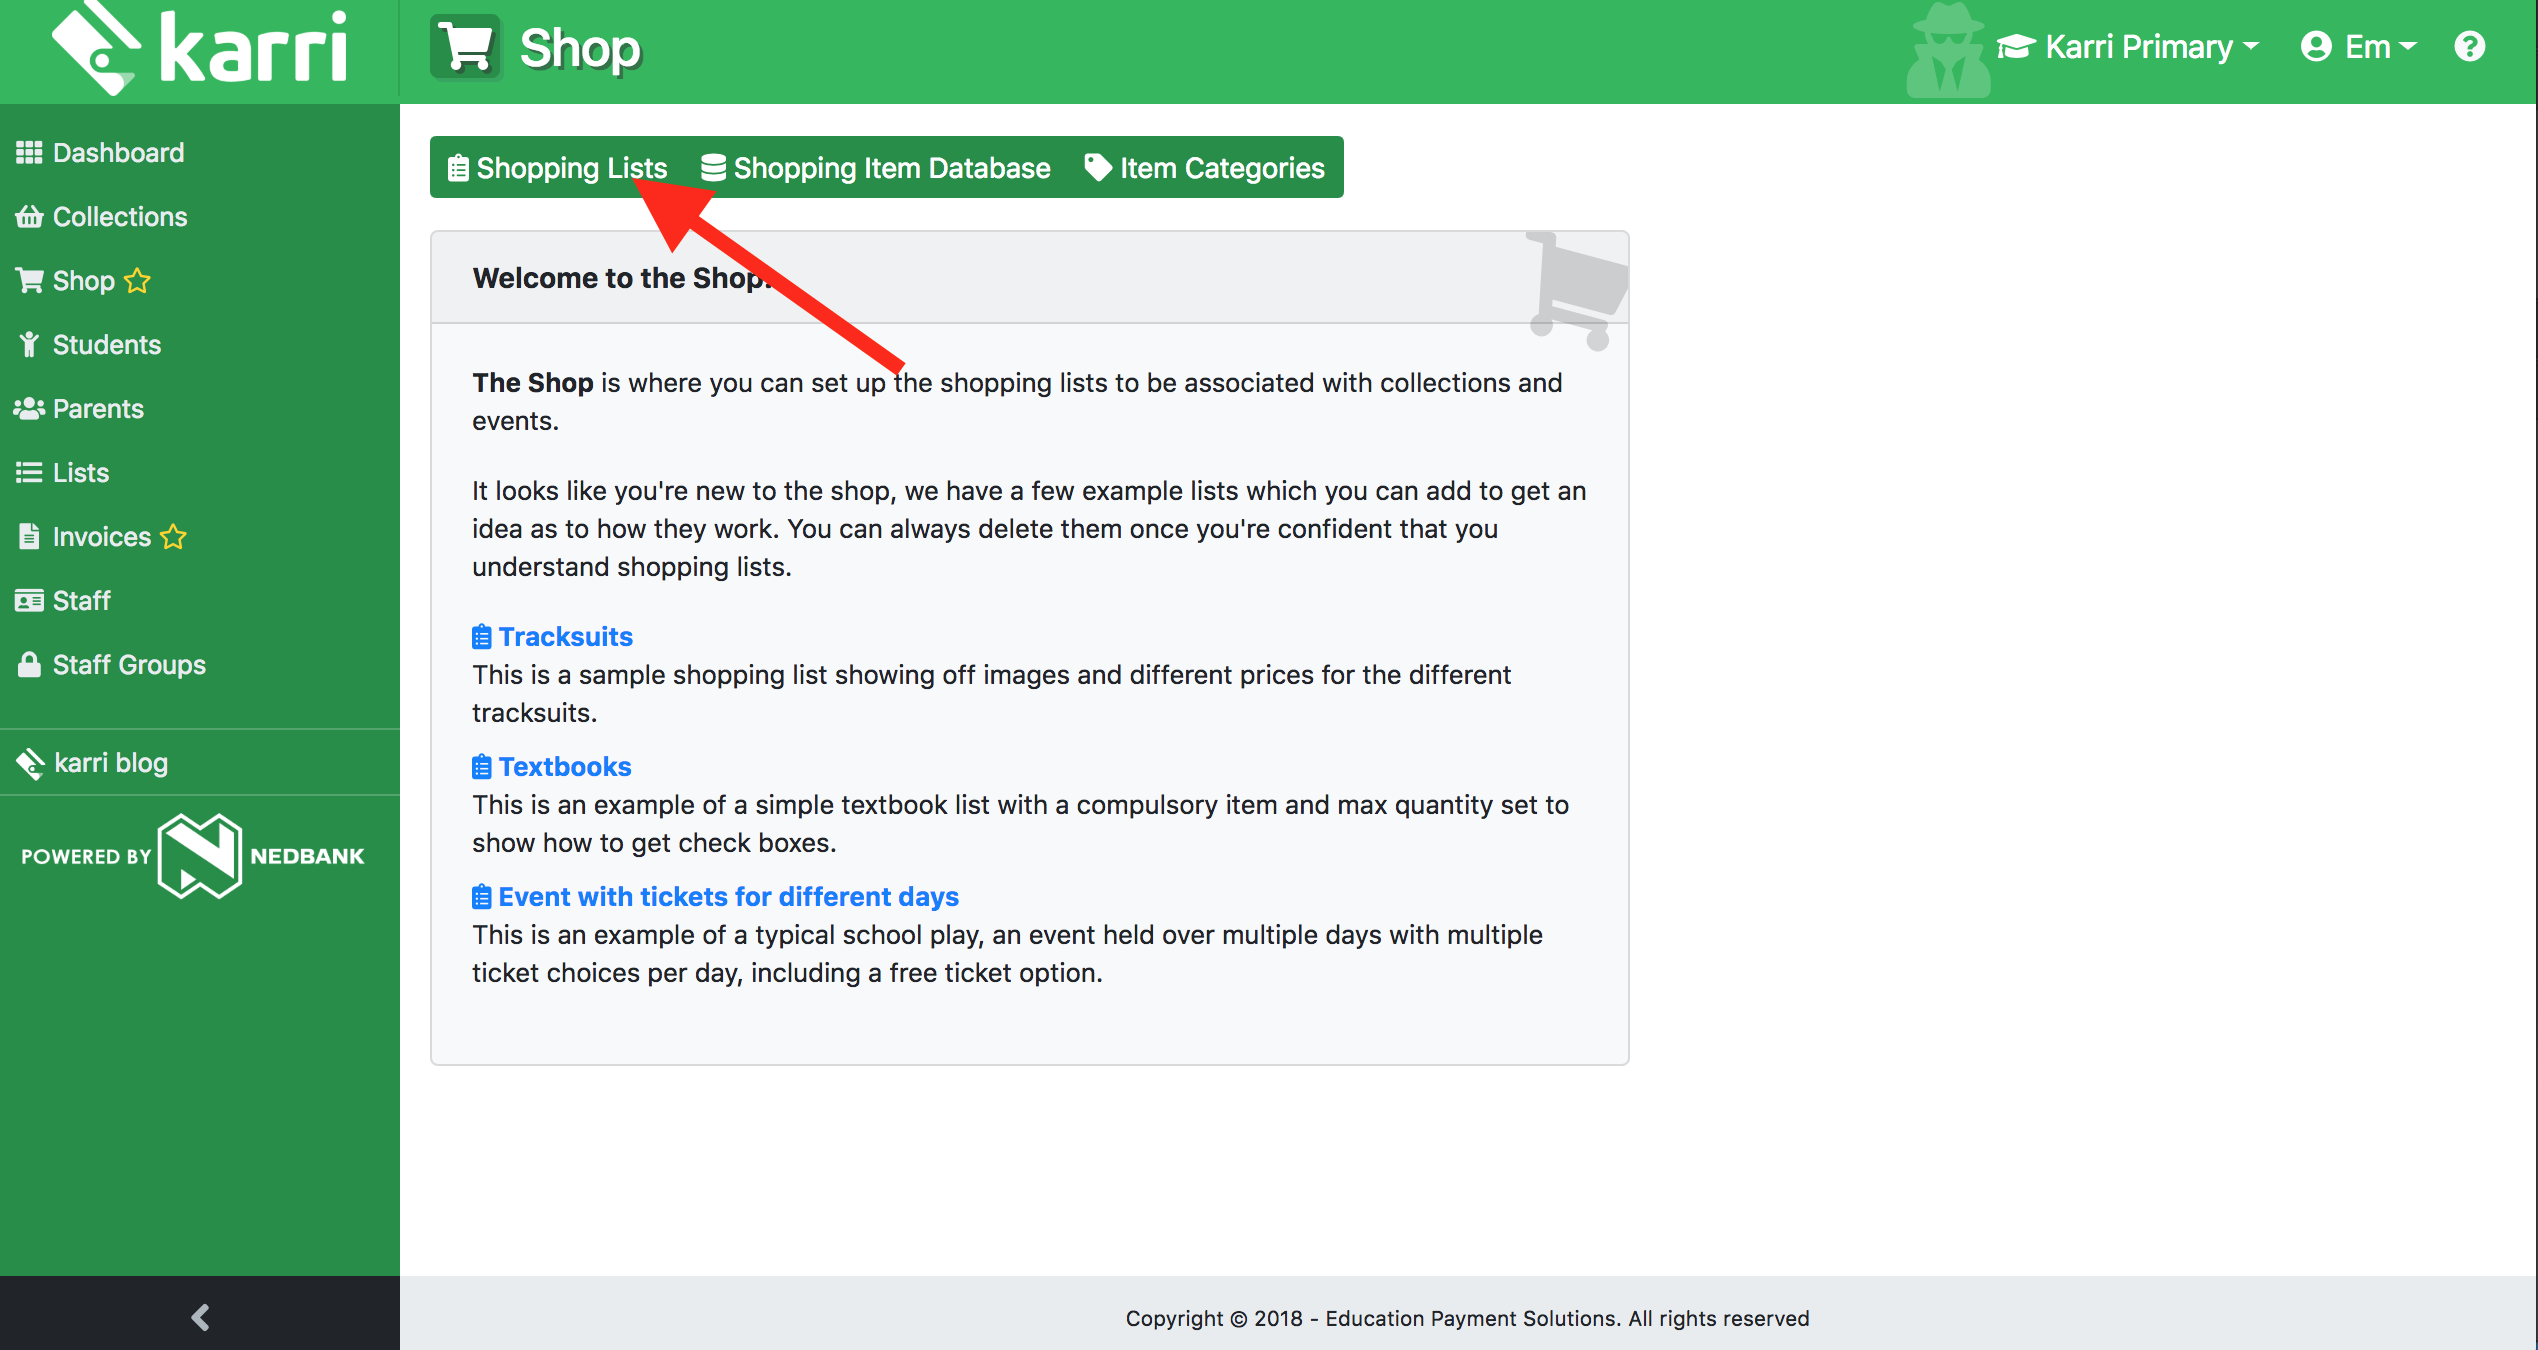
Click the Shop tab on the left-hand side of your dashboard.
You will then be redirected to a demo screen. This is purely for you to use as an example. You can select a DEMO list to see how lists work and familiarise yourself with the layout.
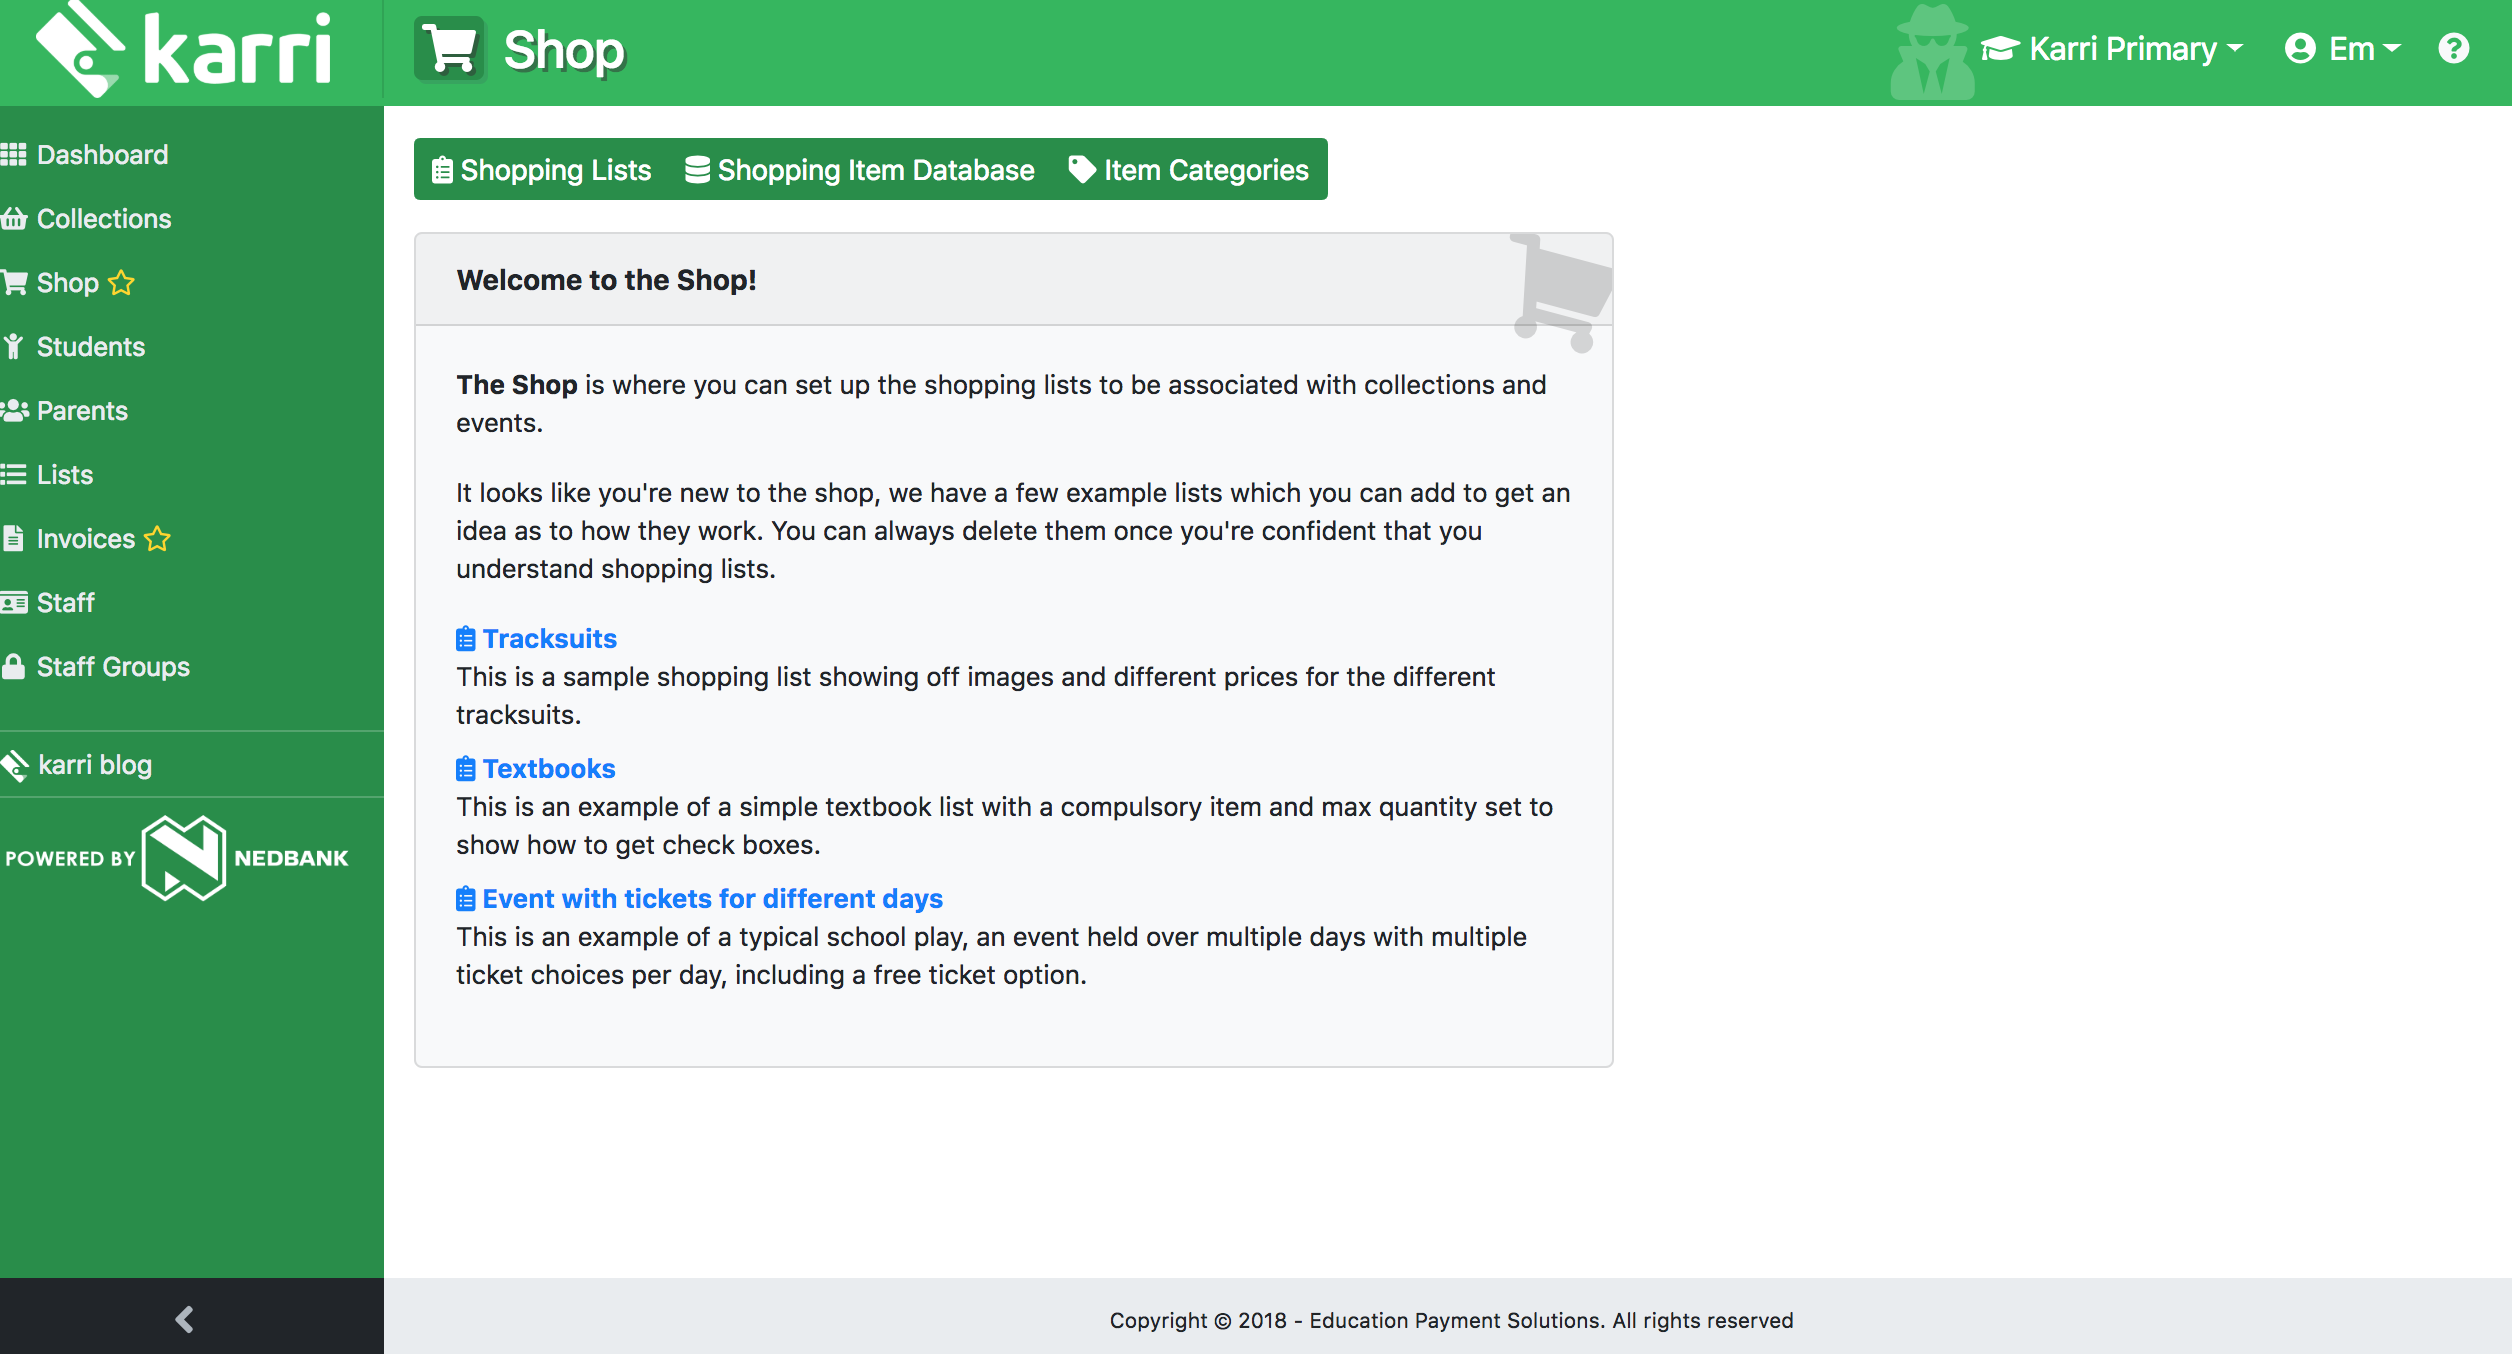
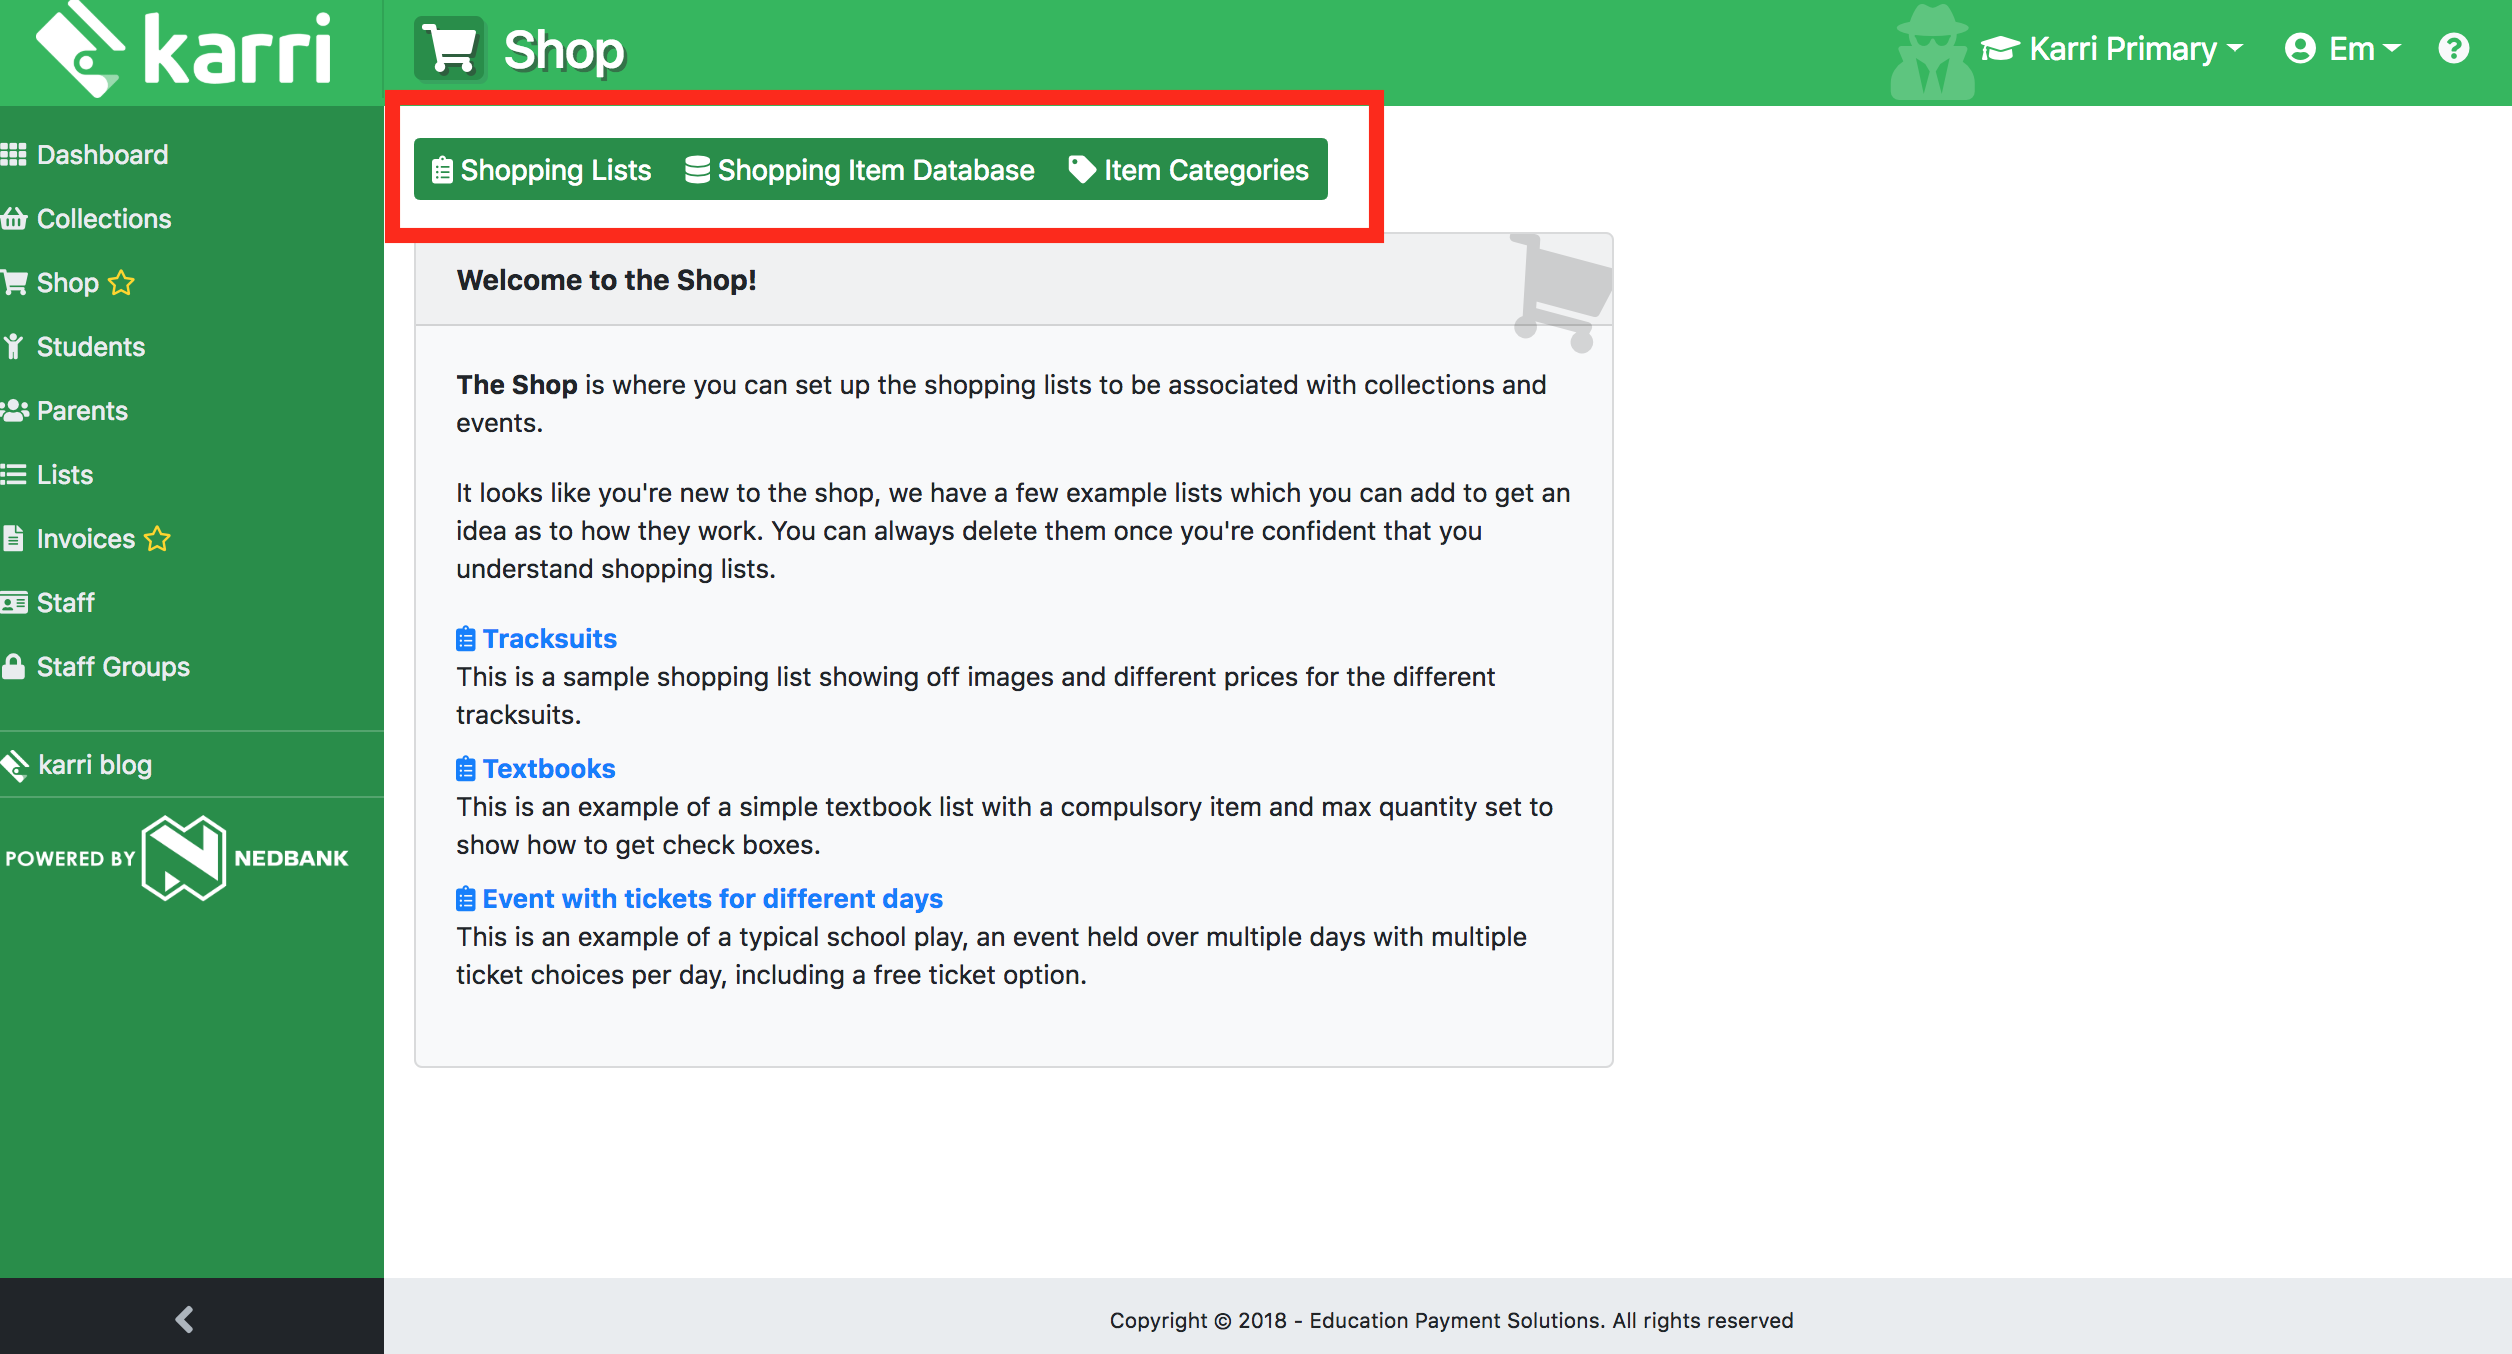
Above your demo list, you will see three tabs: Shopping Lists, Shopping Item Database and Item Categories.
Shopping Lists: This is the overall name for a list of items eg. Pizza day, concert, matric jersey, Grade 10 Textbooks, stationery packs etc.
Shopping Item Database – This is where you store, manage and add items that will then appear on a shopping list eg. On your Pizza day shopping list, you might need to have items like Hawaiian pizza and Margarita pizza.
On your Concert list, you might like to have Adult ticket for R50 and child ticket for R20.
Item Categories – Make your life easier in the future by grouping items, eg. tickets, clothing, stationery.
Need a little more guidance? Check out this example table below:

First, you need to select Item Categories and then CREATE A CATEGORY (eg. you are selling pizzas, so you need to create a food category, or you are selling concert tickets, so the category would be Tickets)
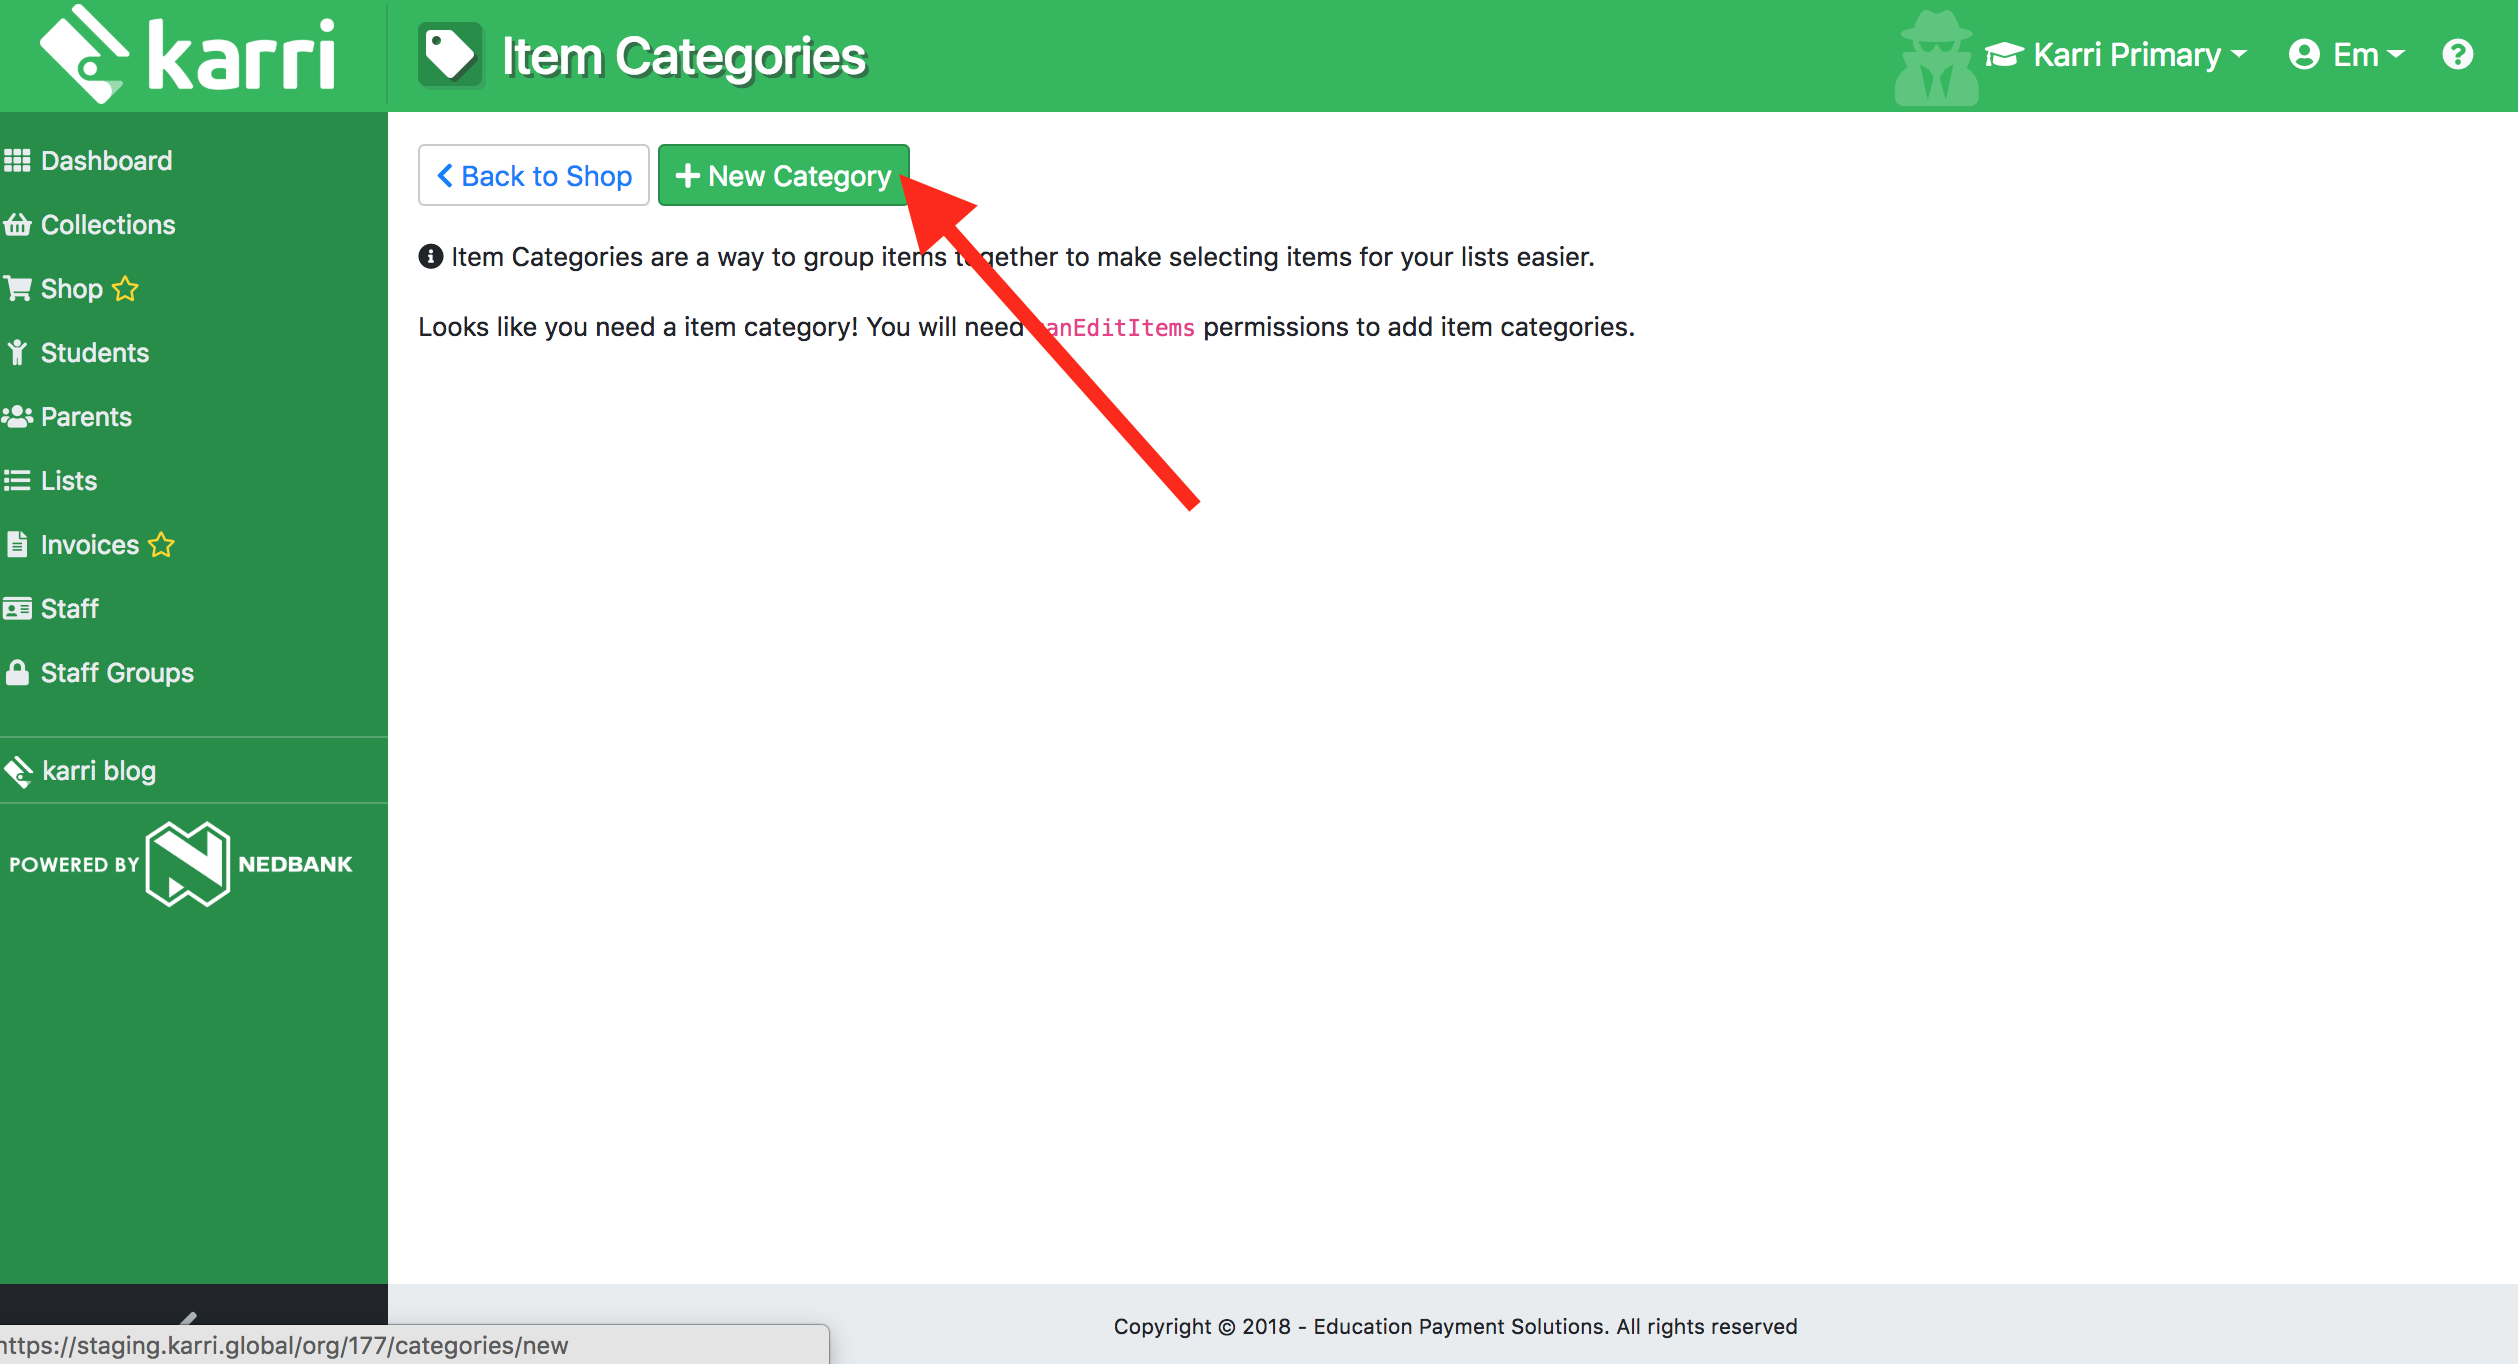
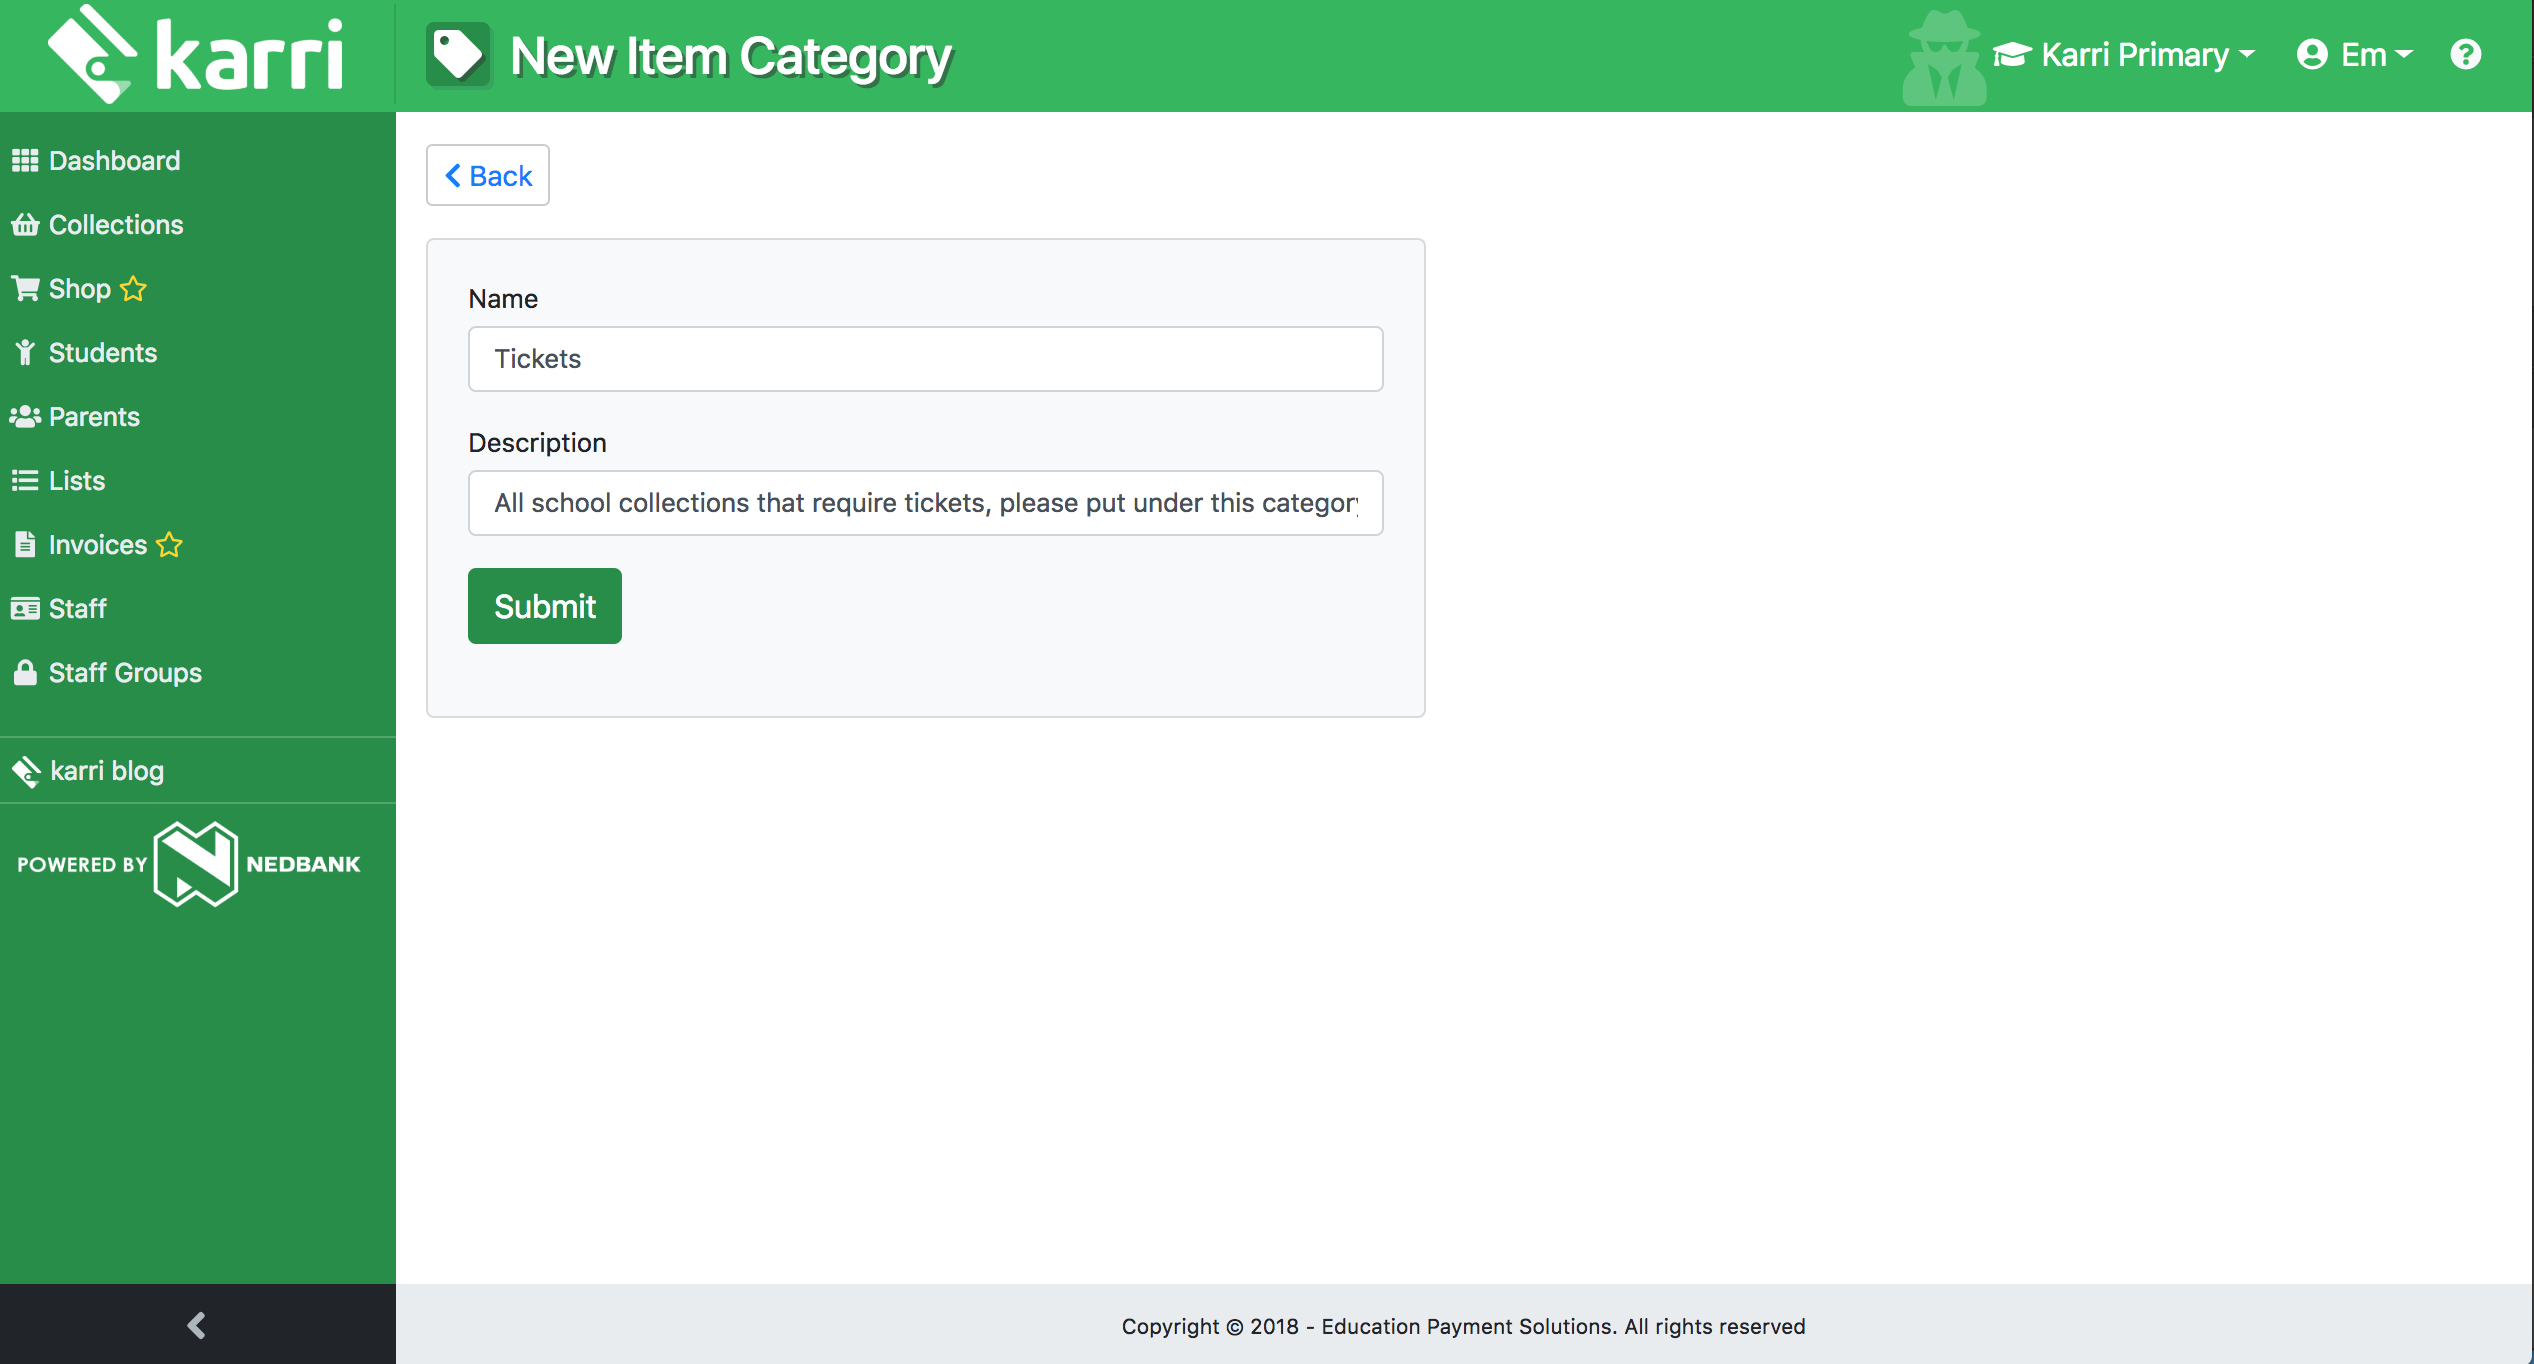
Next, name your category, add a description and press submit.
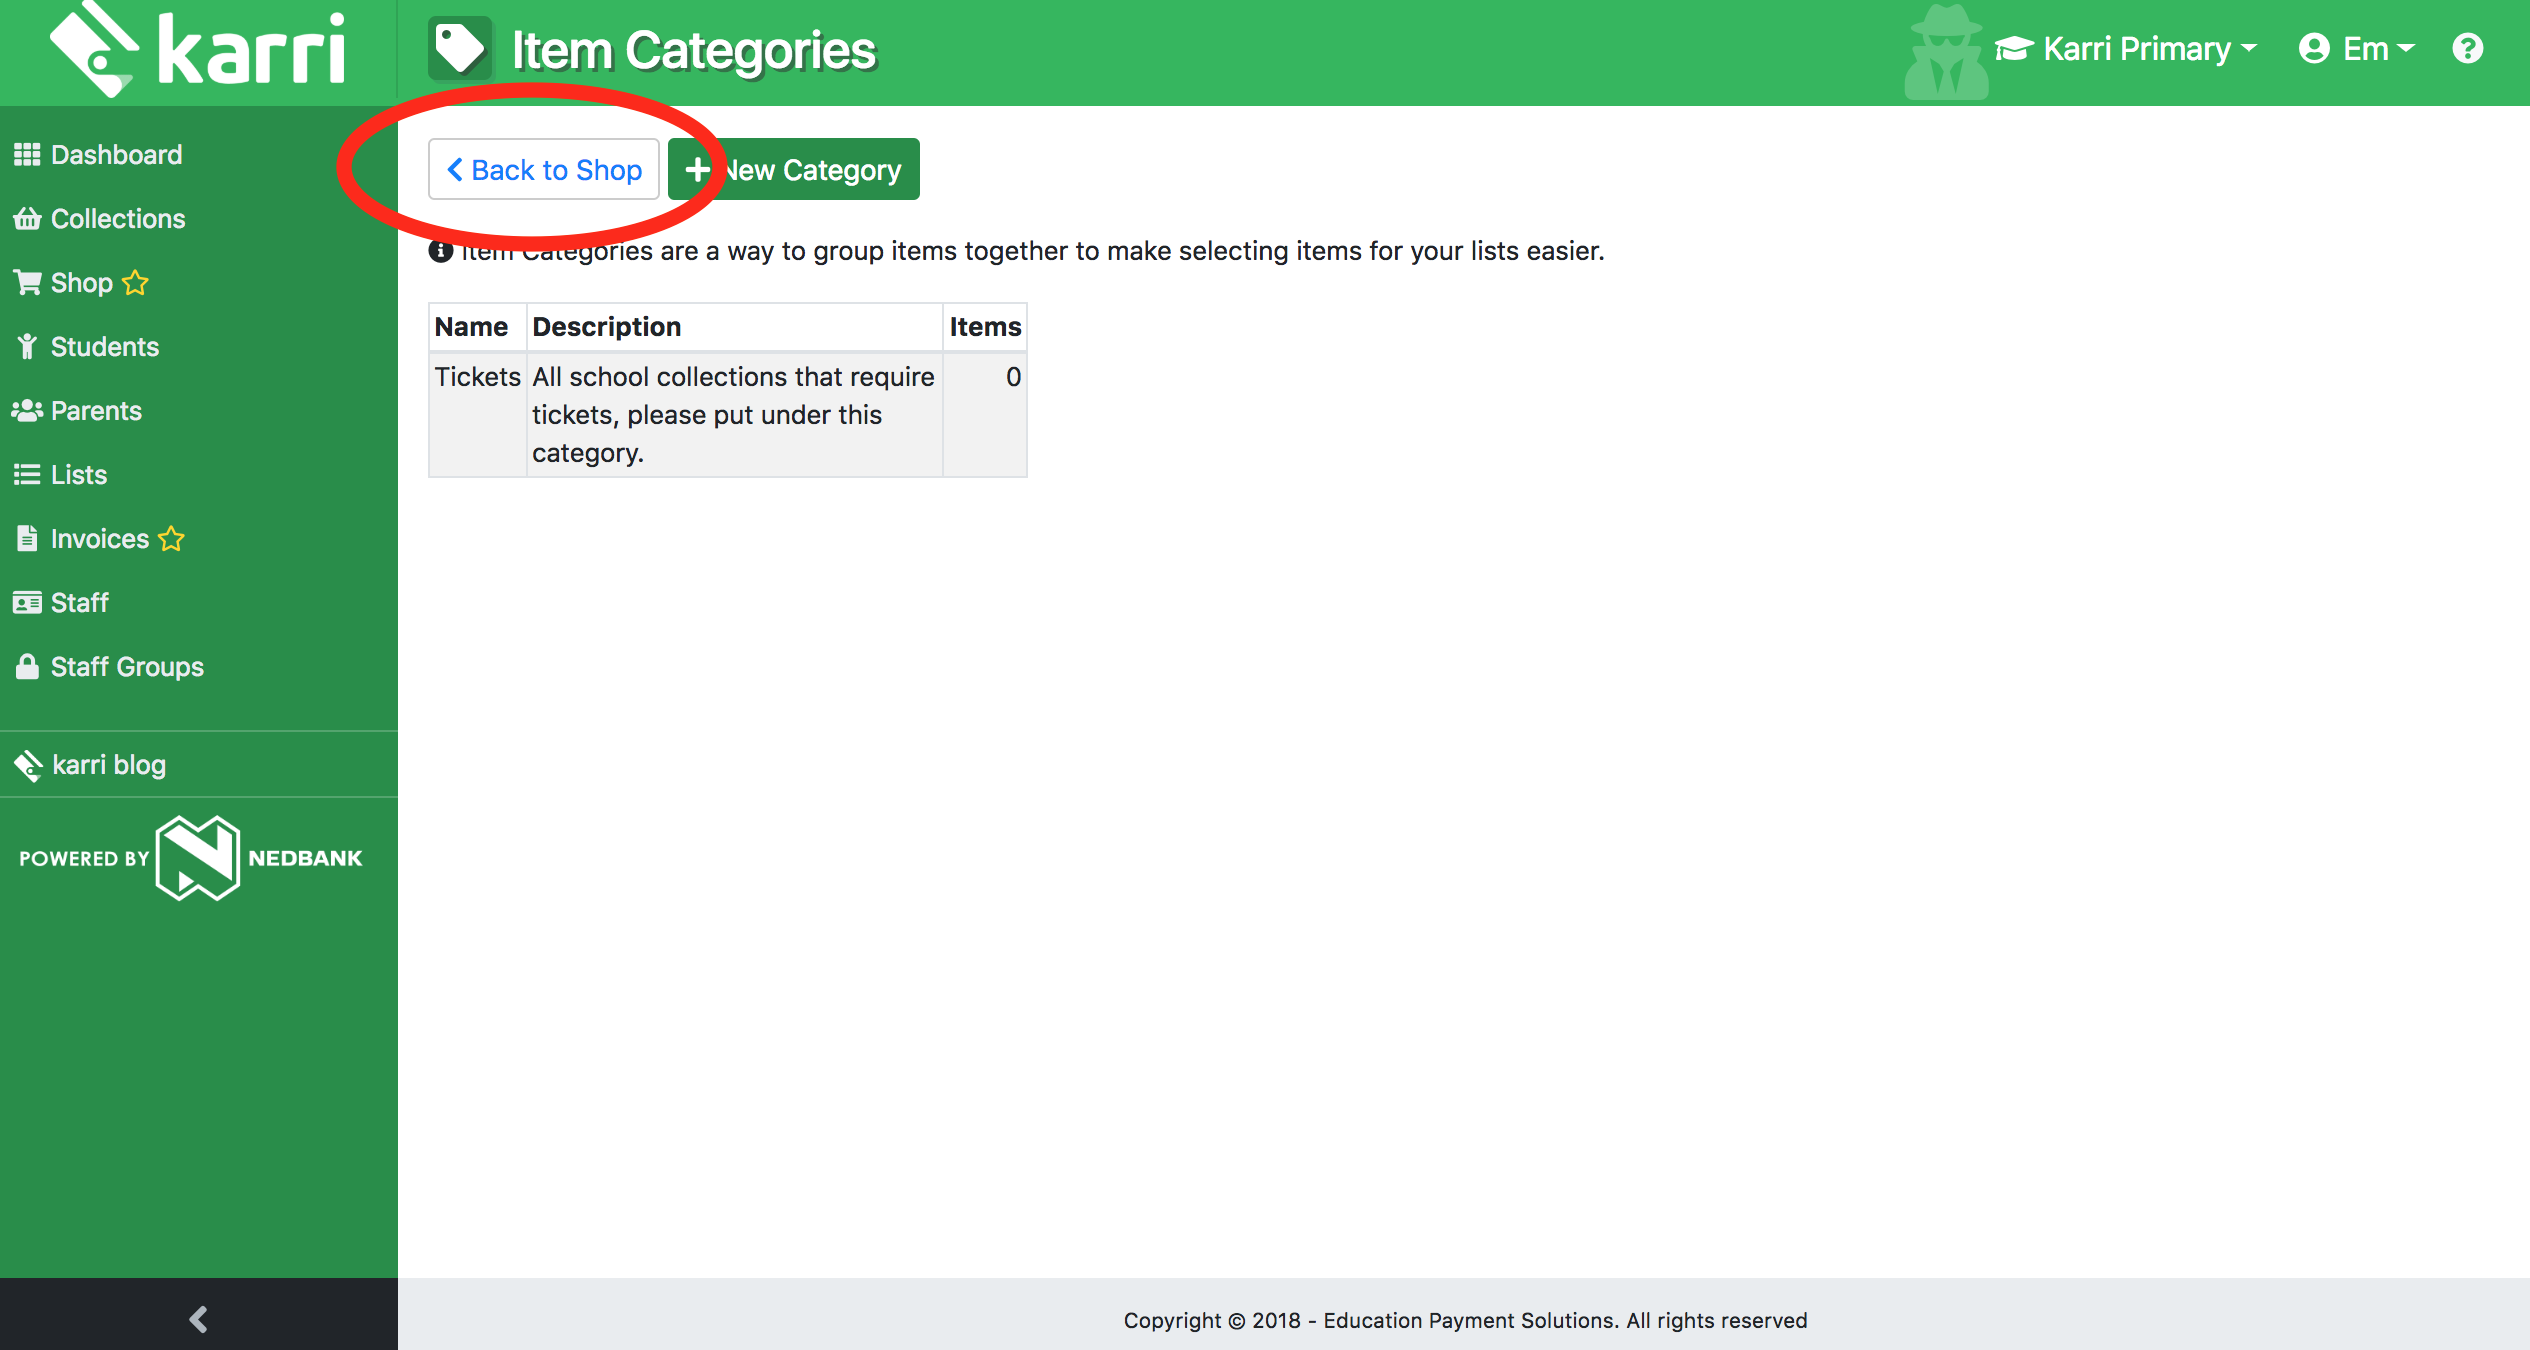
Next simply press Back to shop.
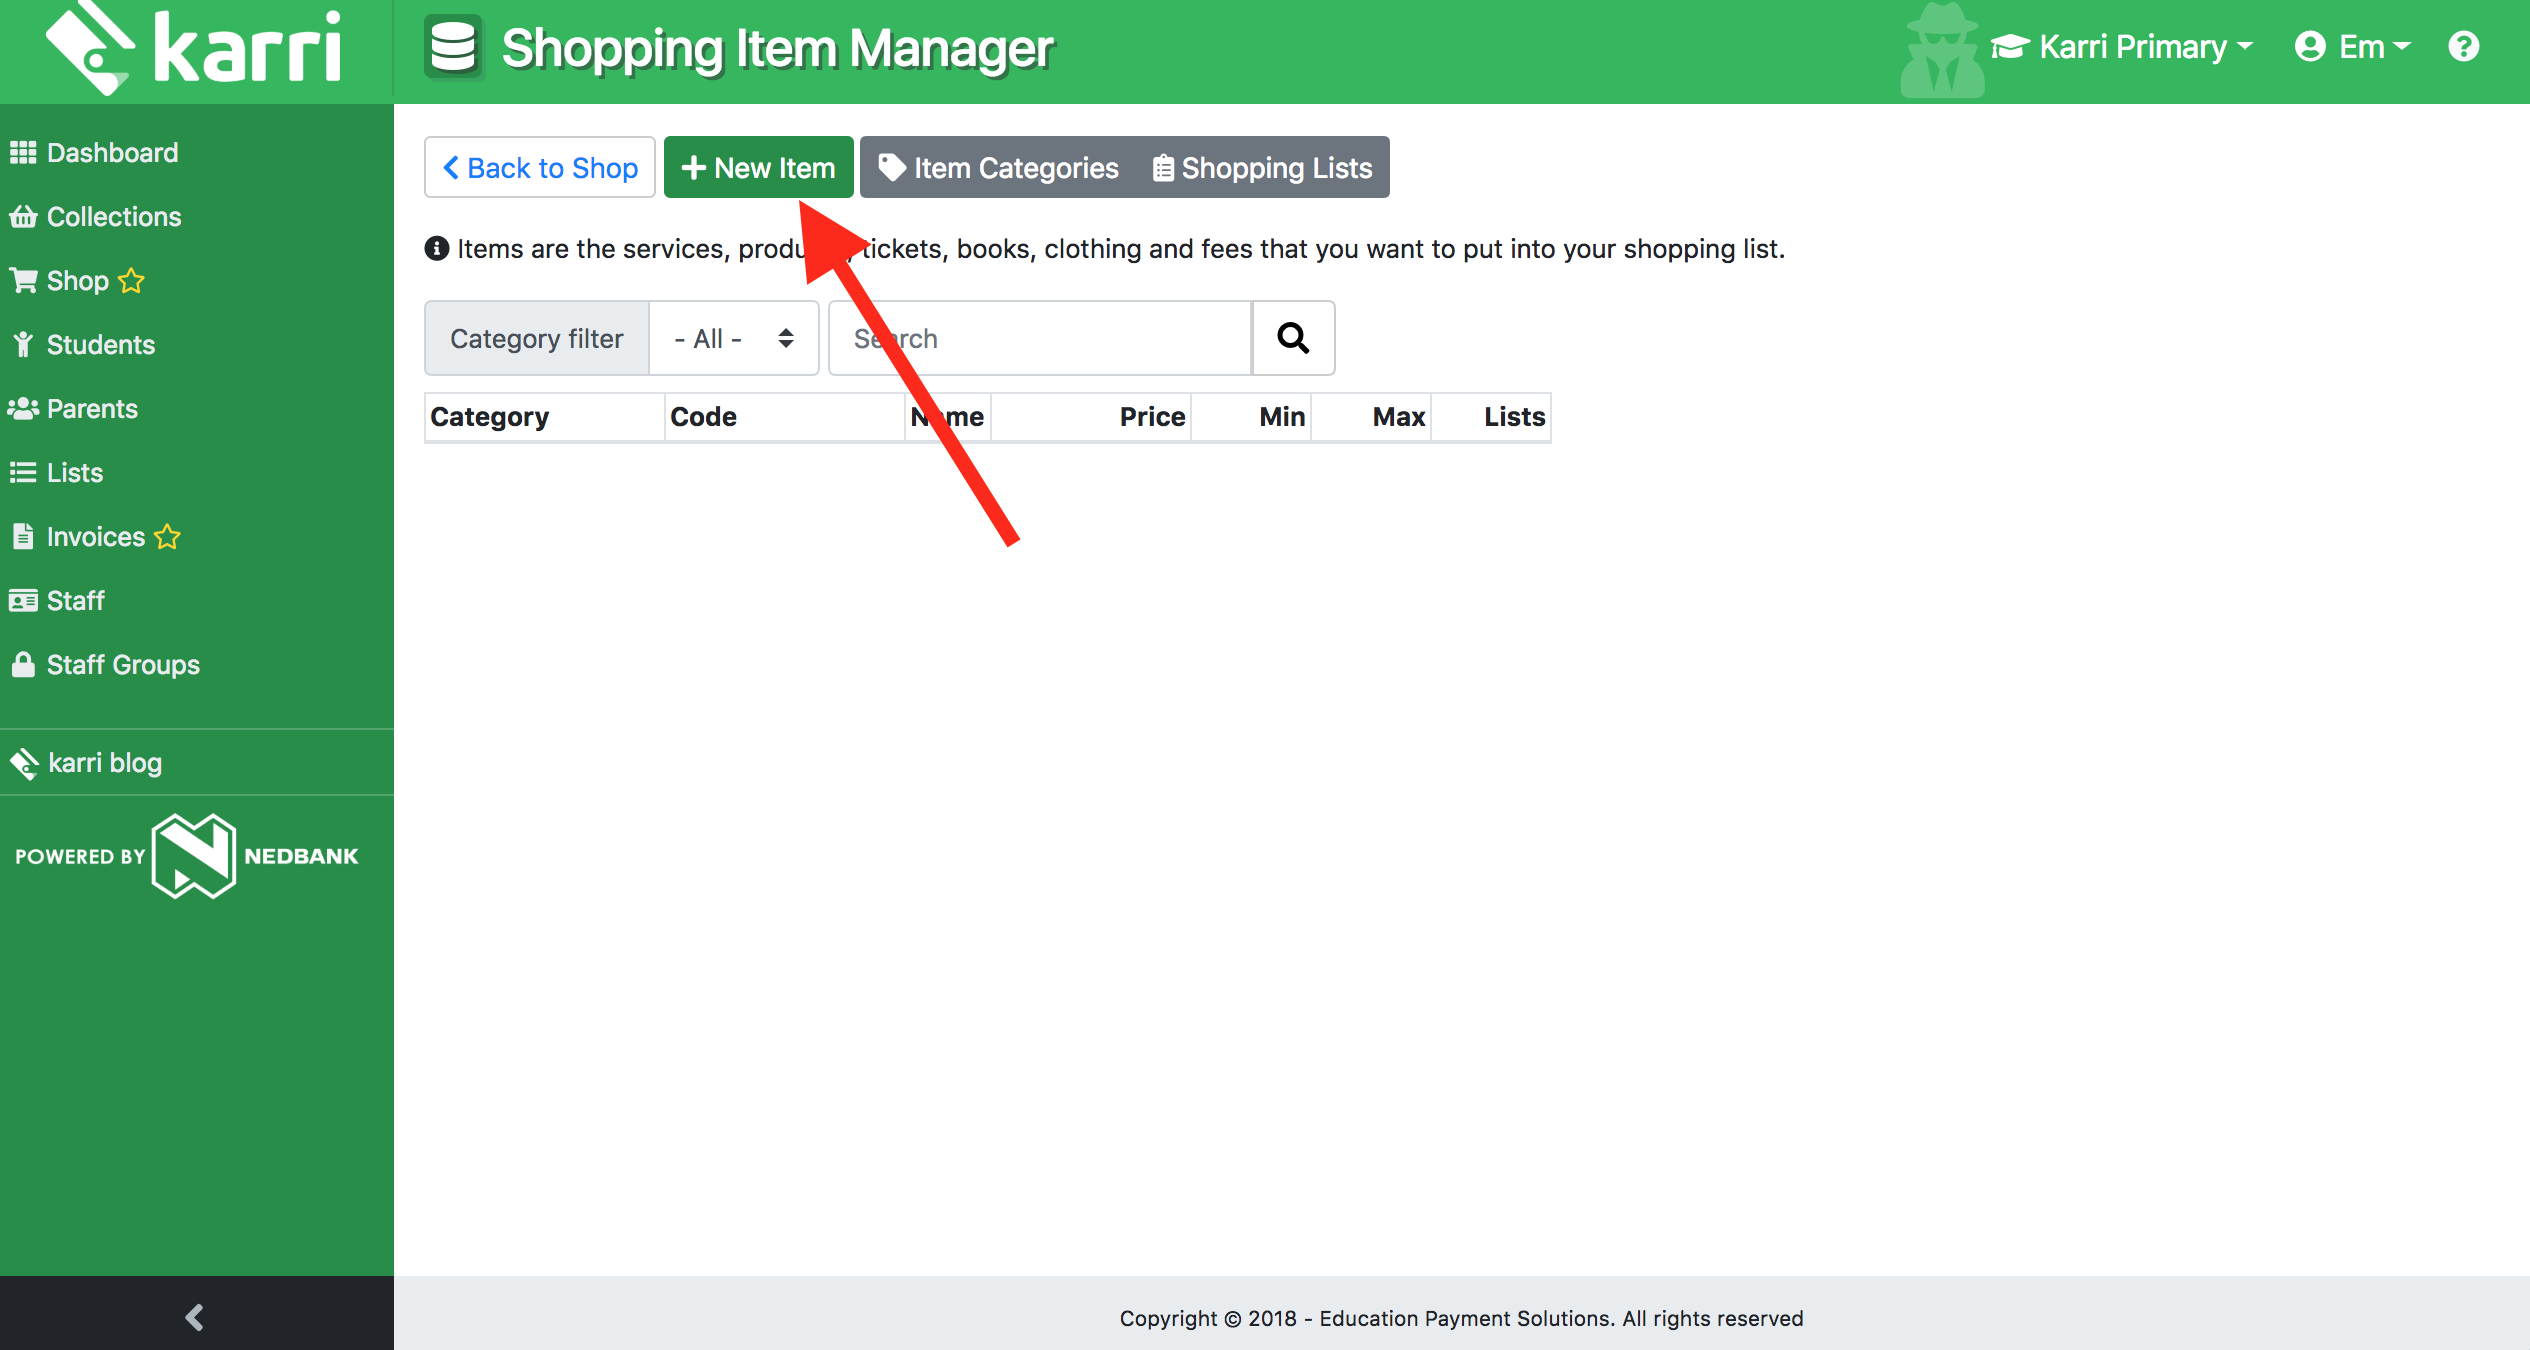
Now it is time to add your items to your item database, you can do this by simply pressing shopping item database, this will open a new pop up window.
To add new items to your shopping list, simply press + new item.
Next, fill in the information for your new item.
NOTE: the purpose of the code is to keep an accurate track of your inventory. By adding items, you are essentially creating an inventory of items that you will be able to use every year.
Please also note if you put in a minimum order size of 1 it will make the item compulsory to buy. You can leave the minimum and maximum order blank if you don’t need to restrict purchase numbers for the items.
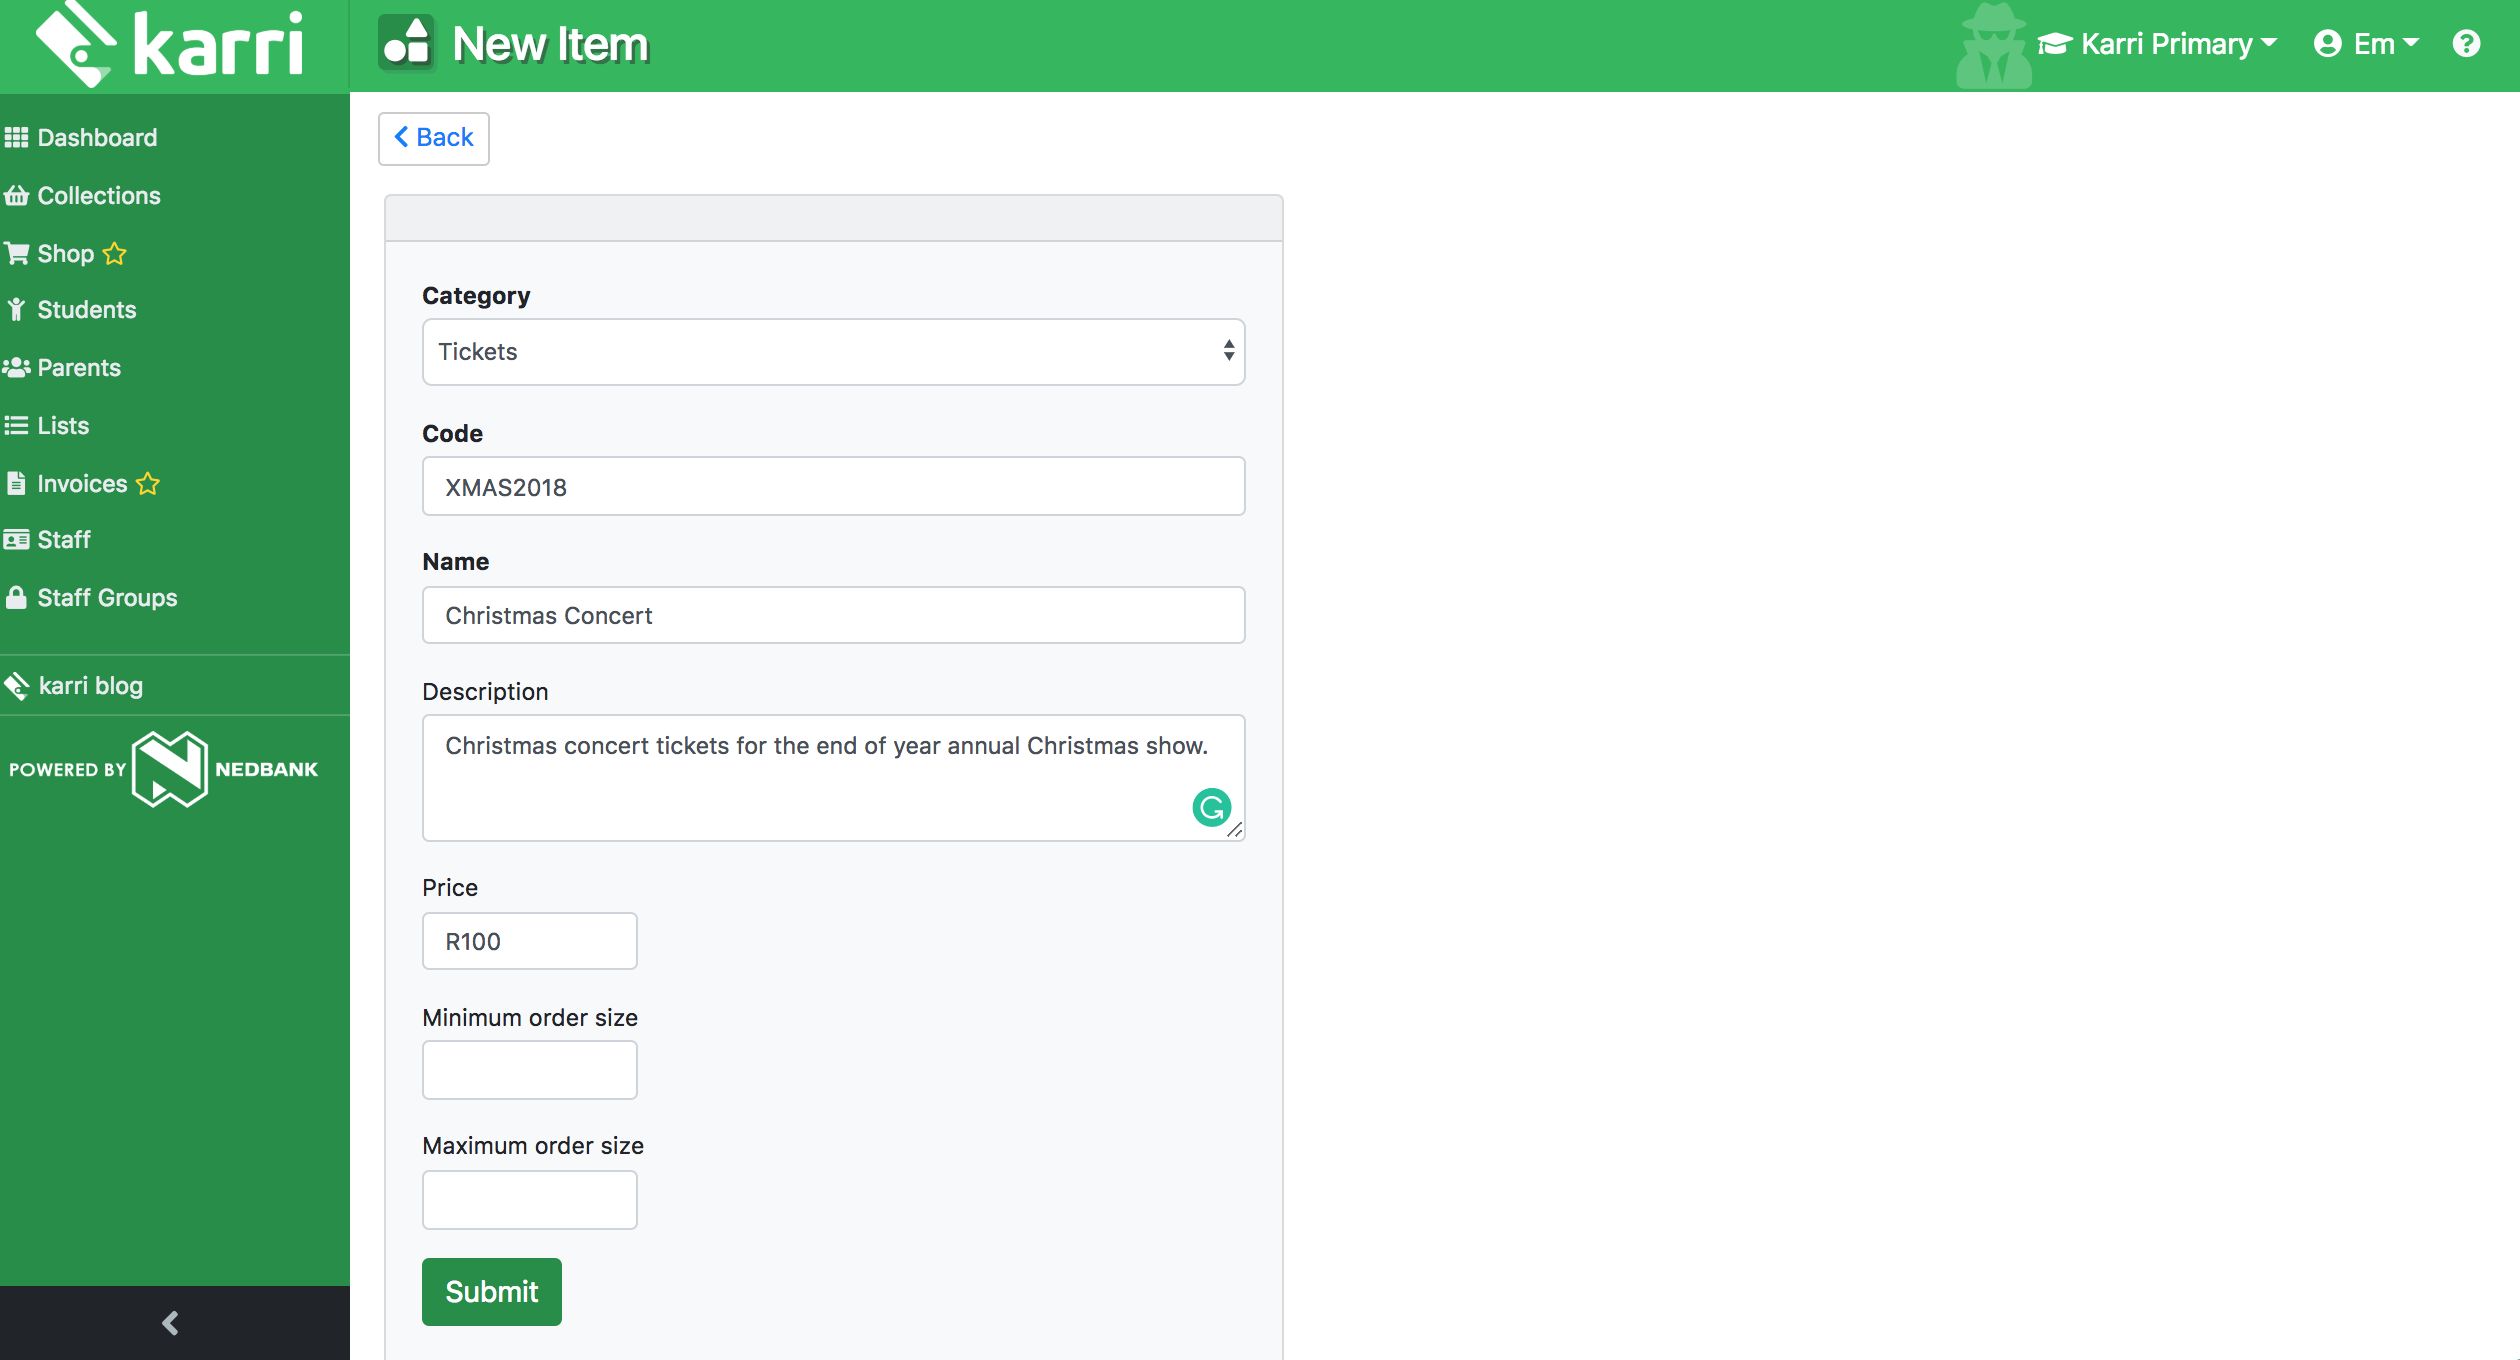
Continue creating your items until you have all the items that you need for your shopping list.
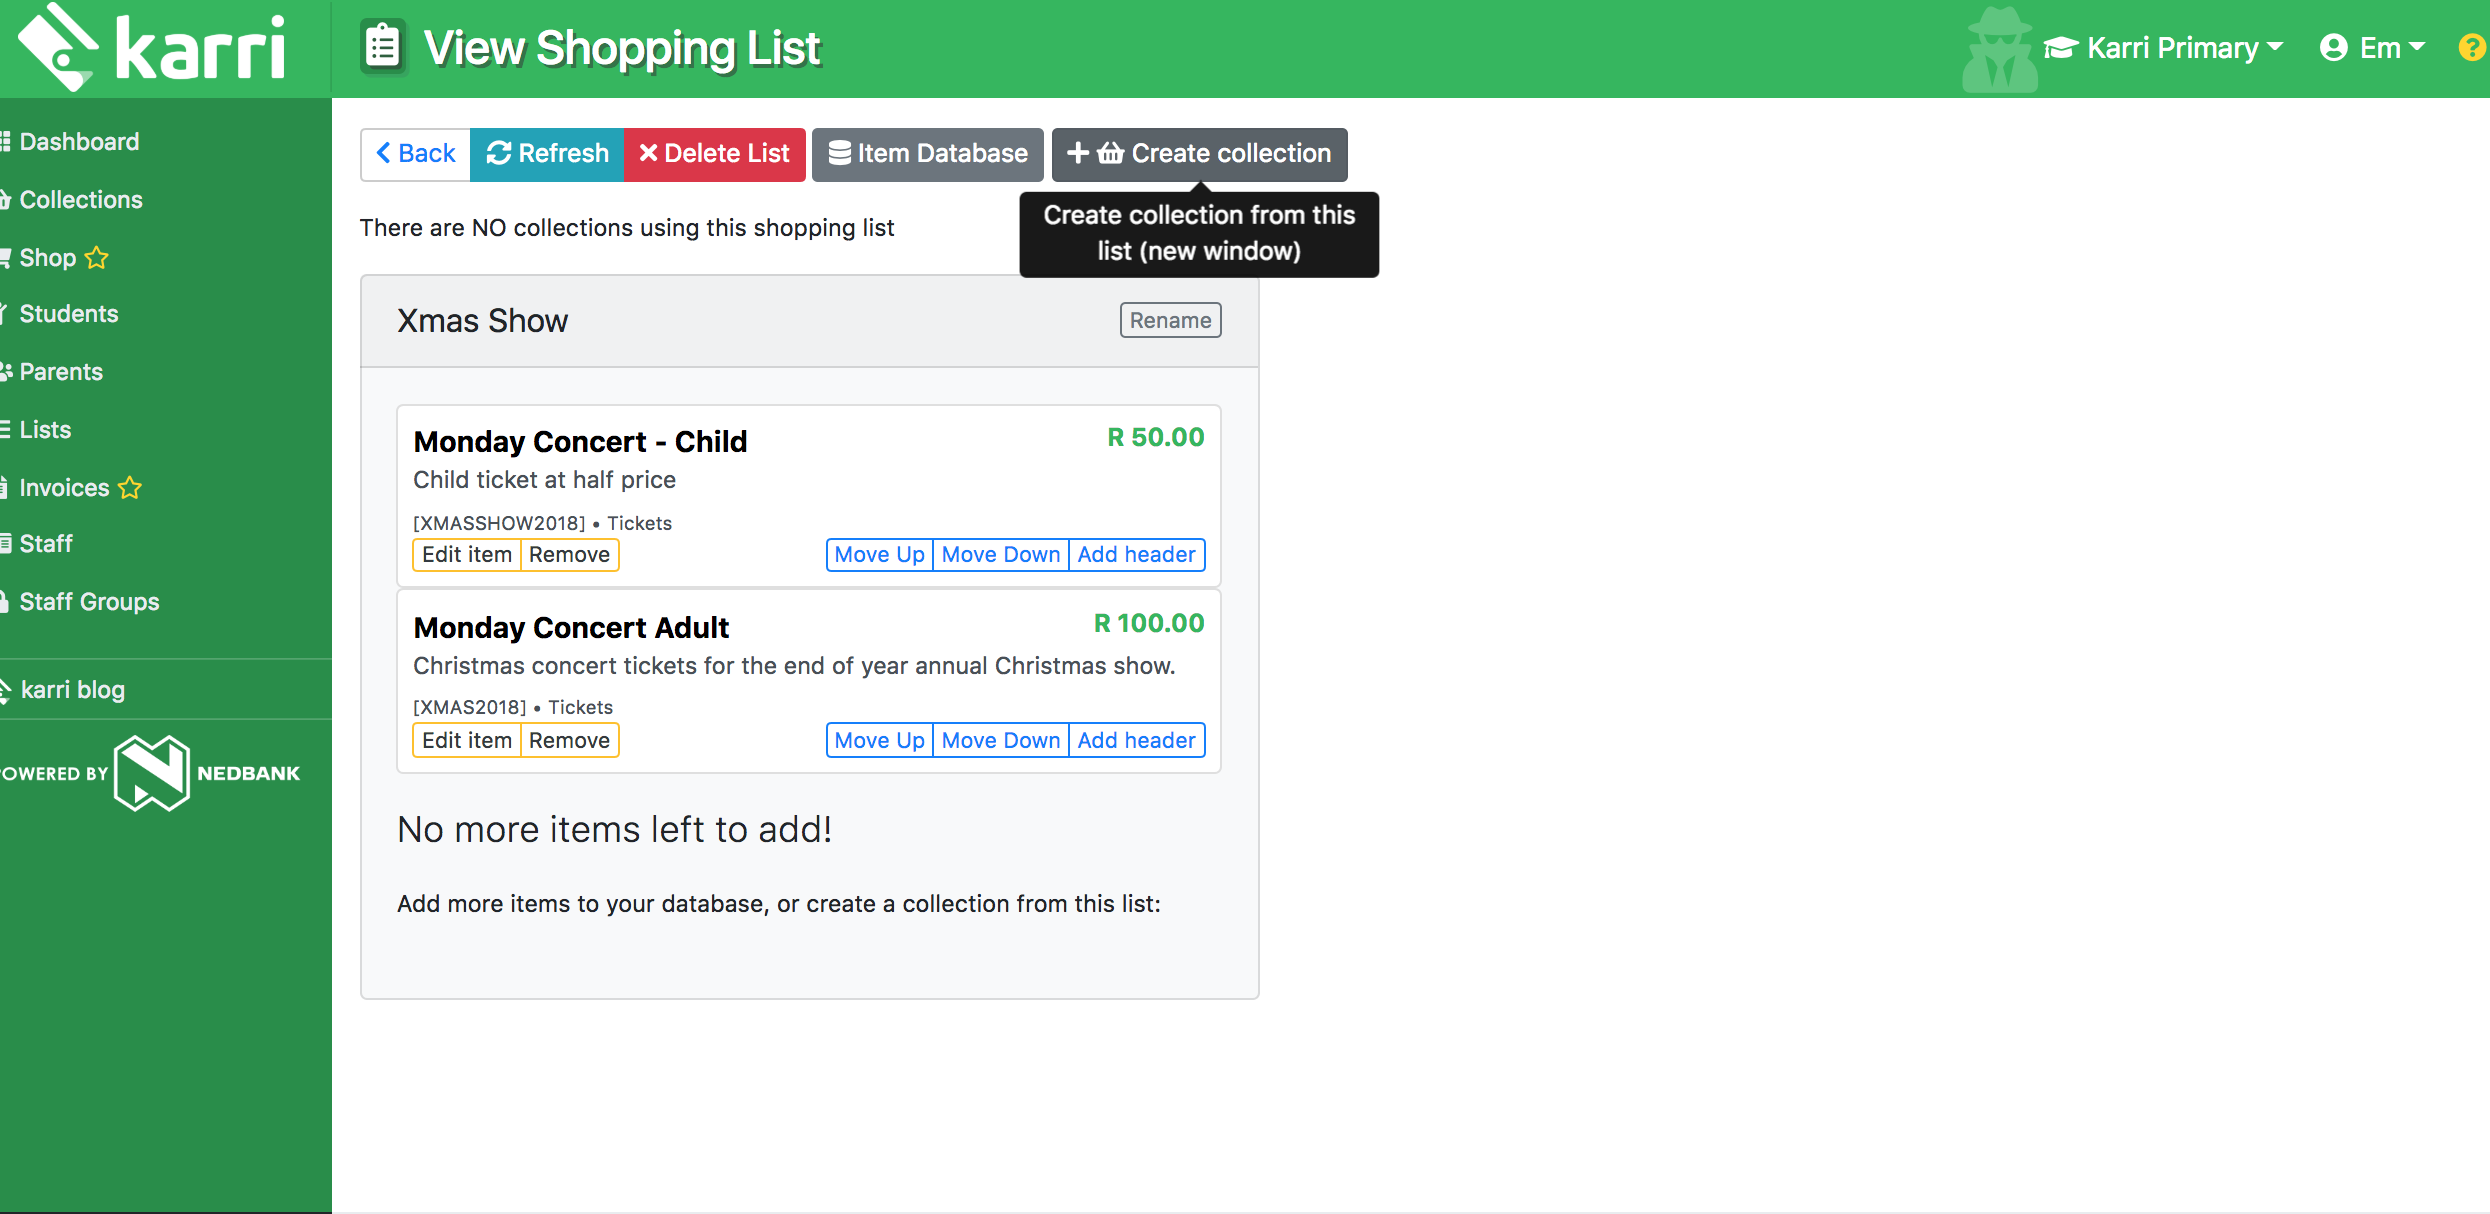
Once you’ve done this, it’s time to create your shopping list. To do this, click on shopping lists.
Then, add a new shopping list.
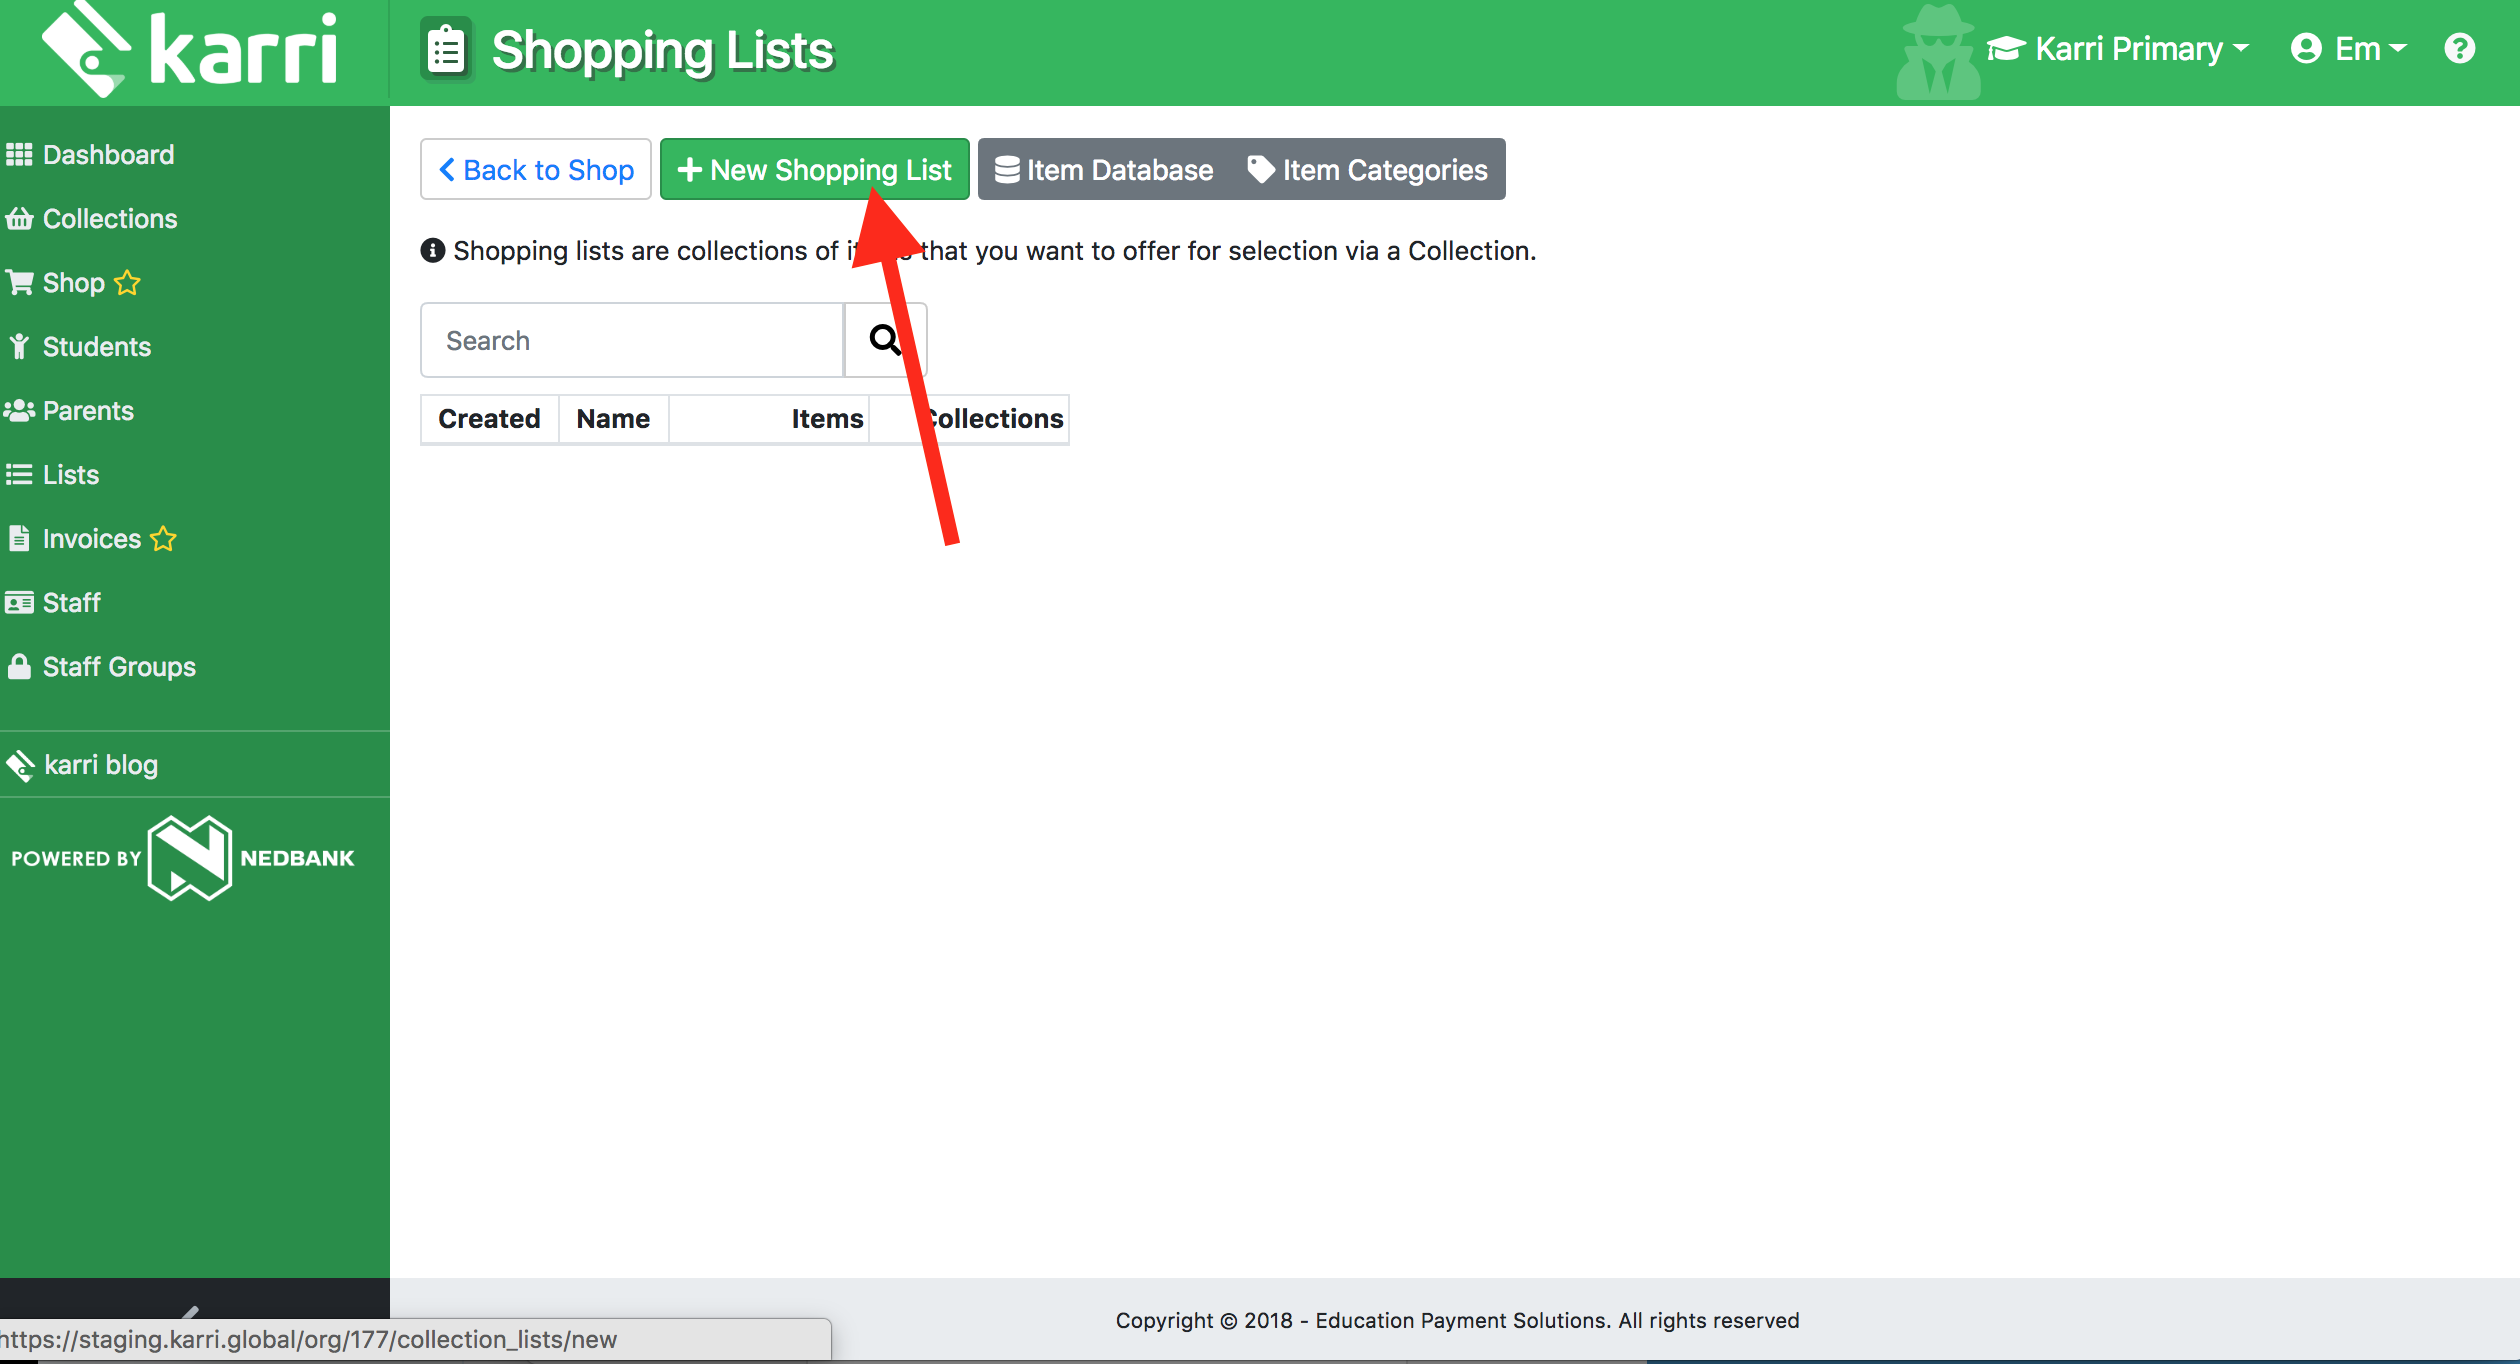
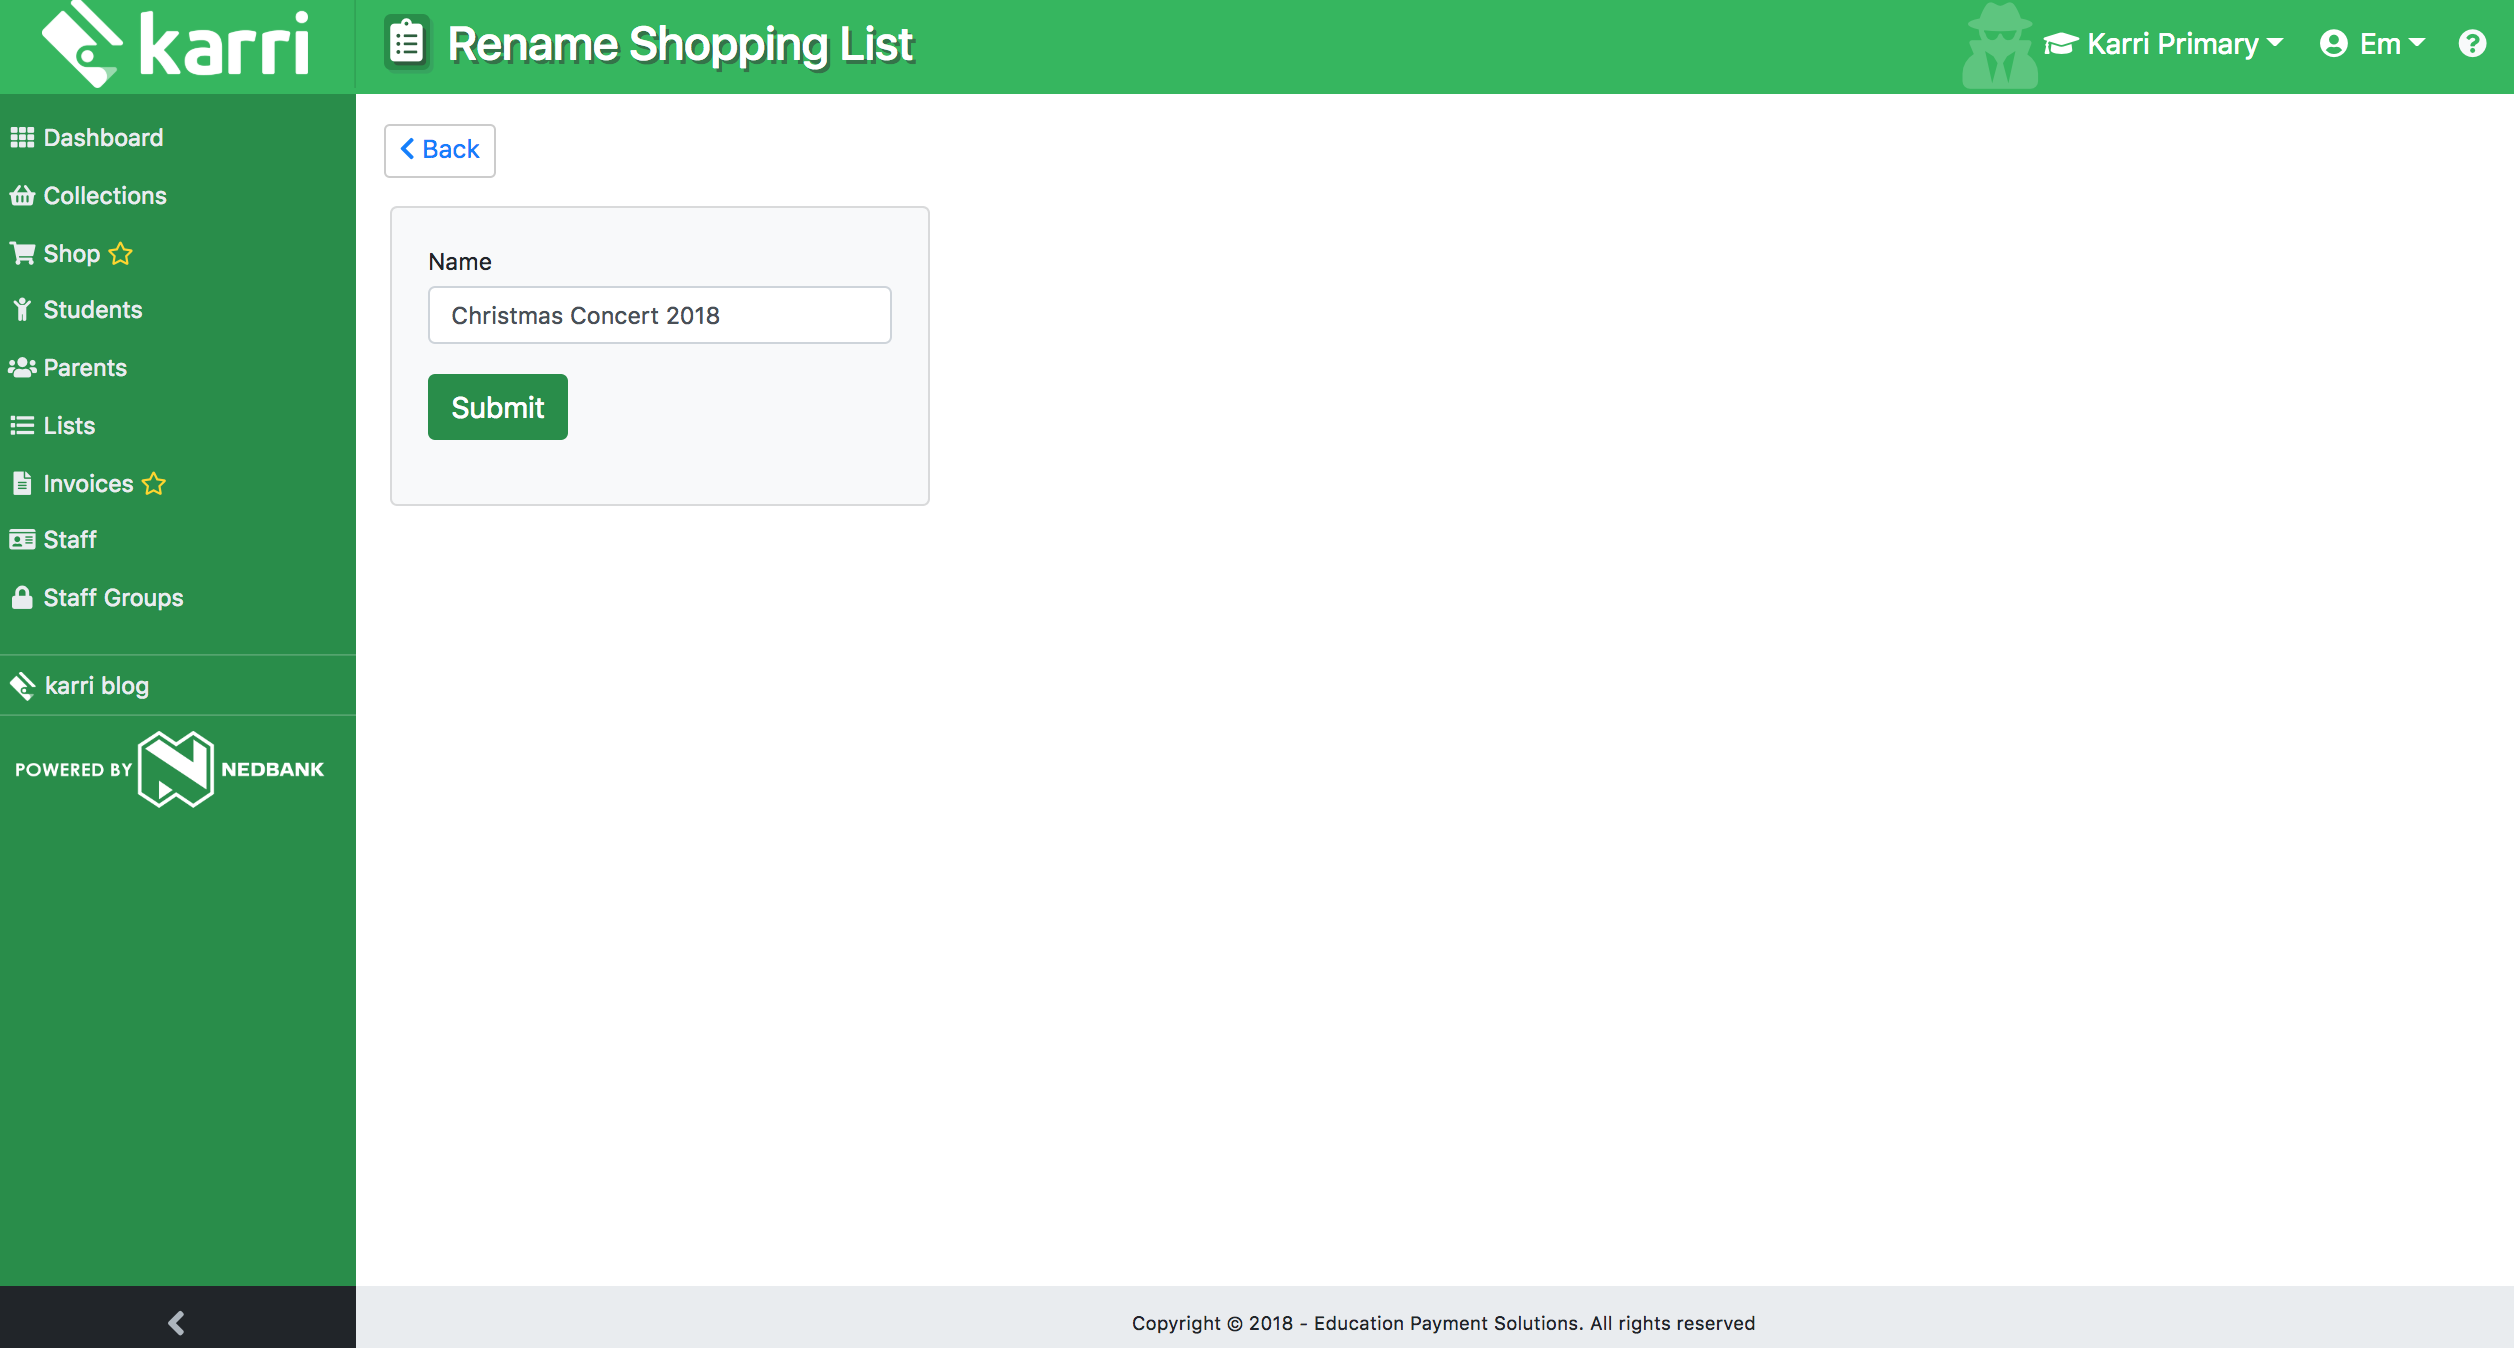
Name your shopping list and press submit.
Add your items to your newly created shopping list and then simply press + Create a collection.
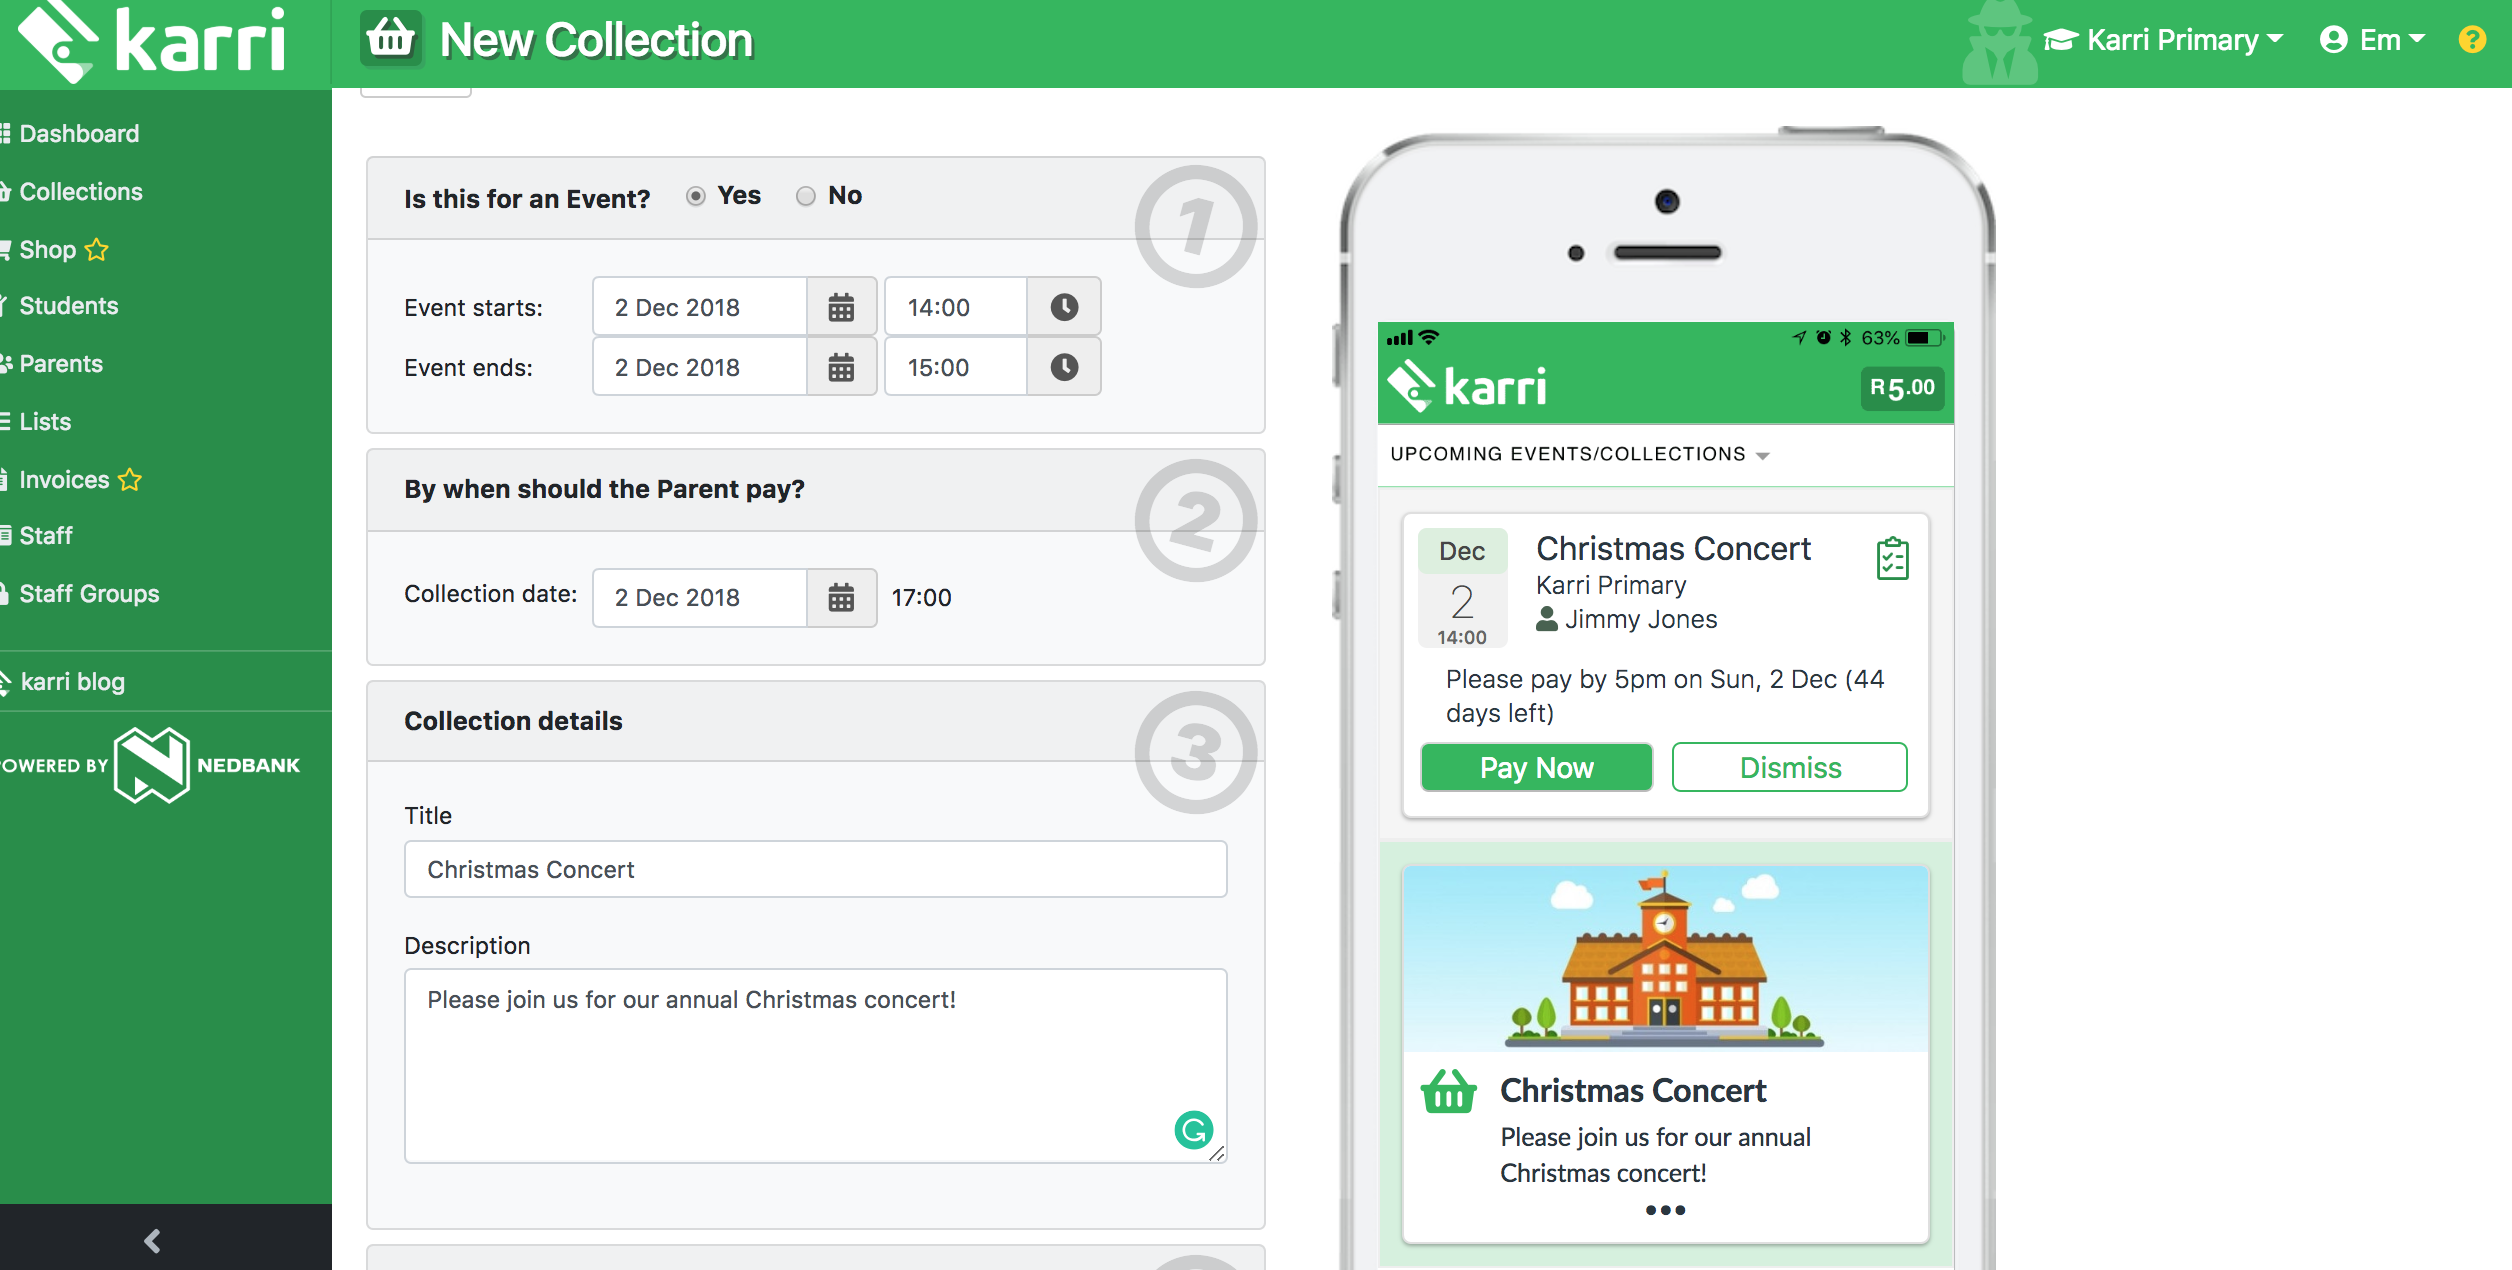
You will then be taken to the collections page and can create a collection, as usual. You will notice that your collection has been pre-populated with your shopping list.
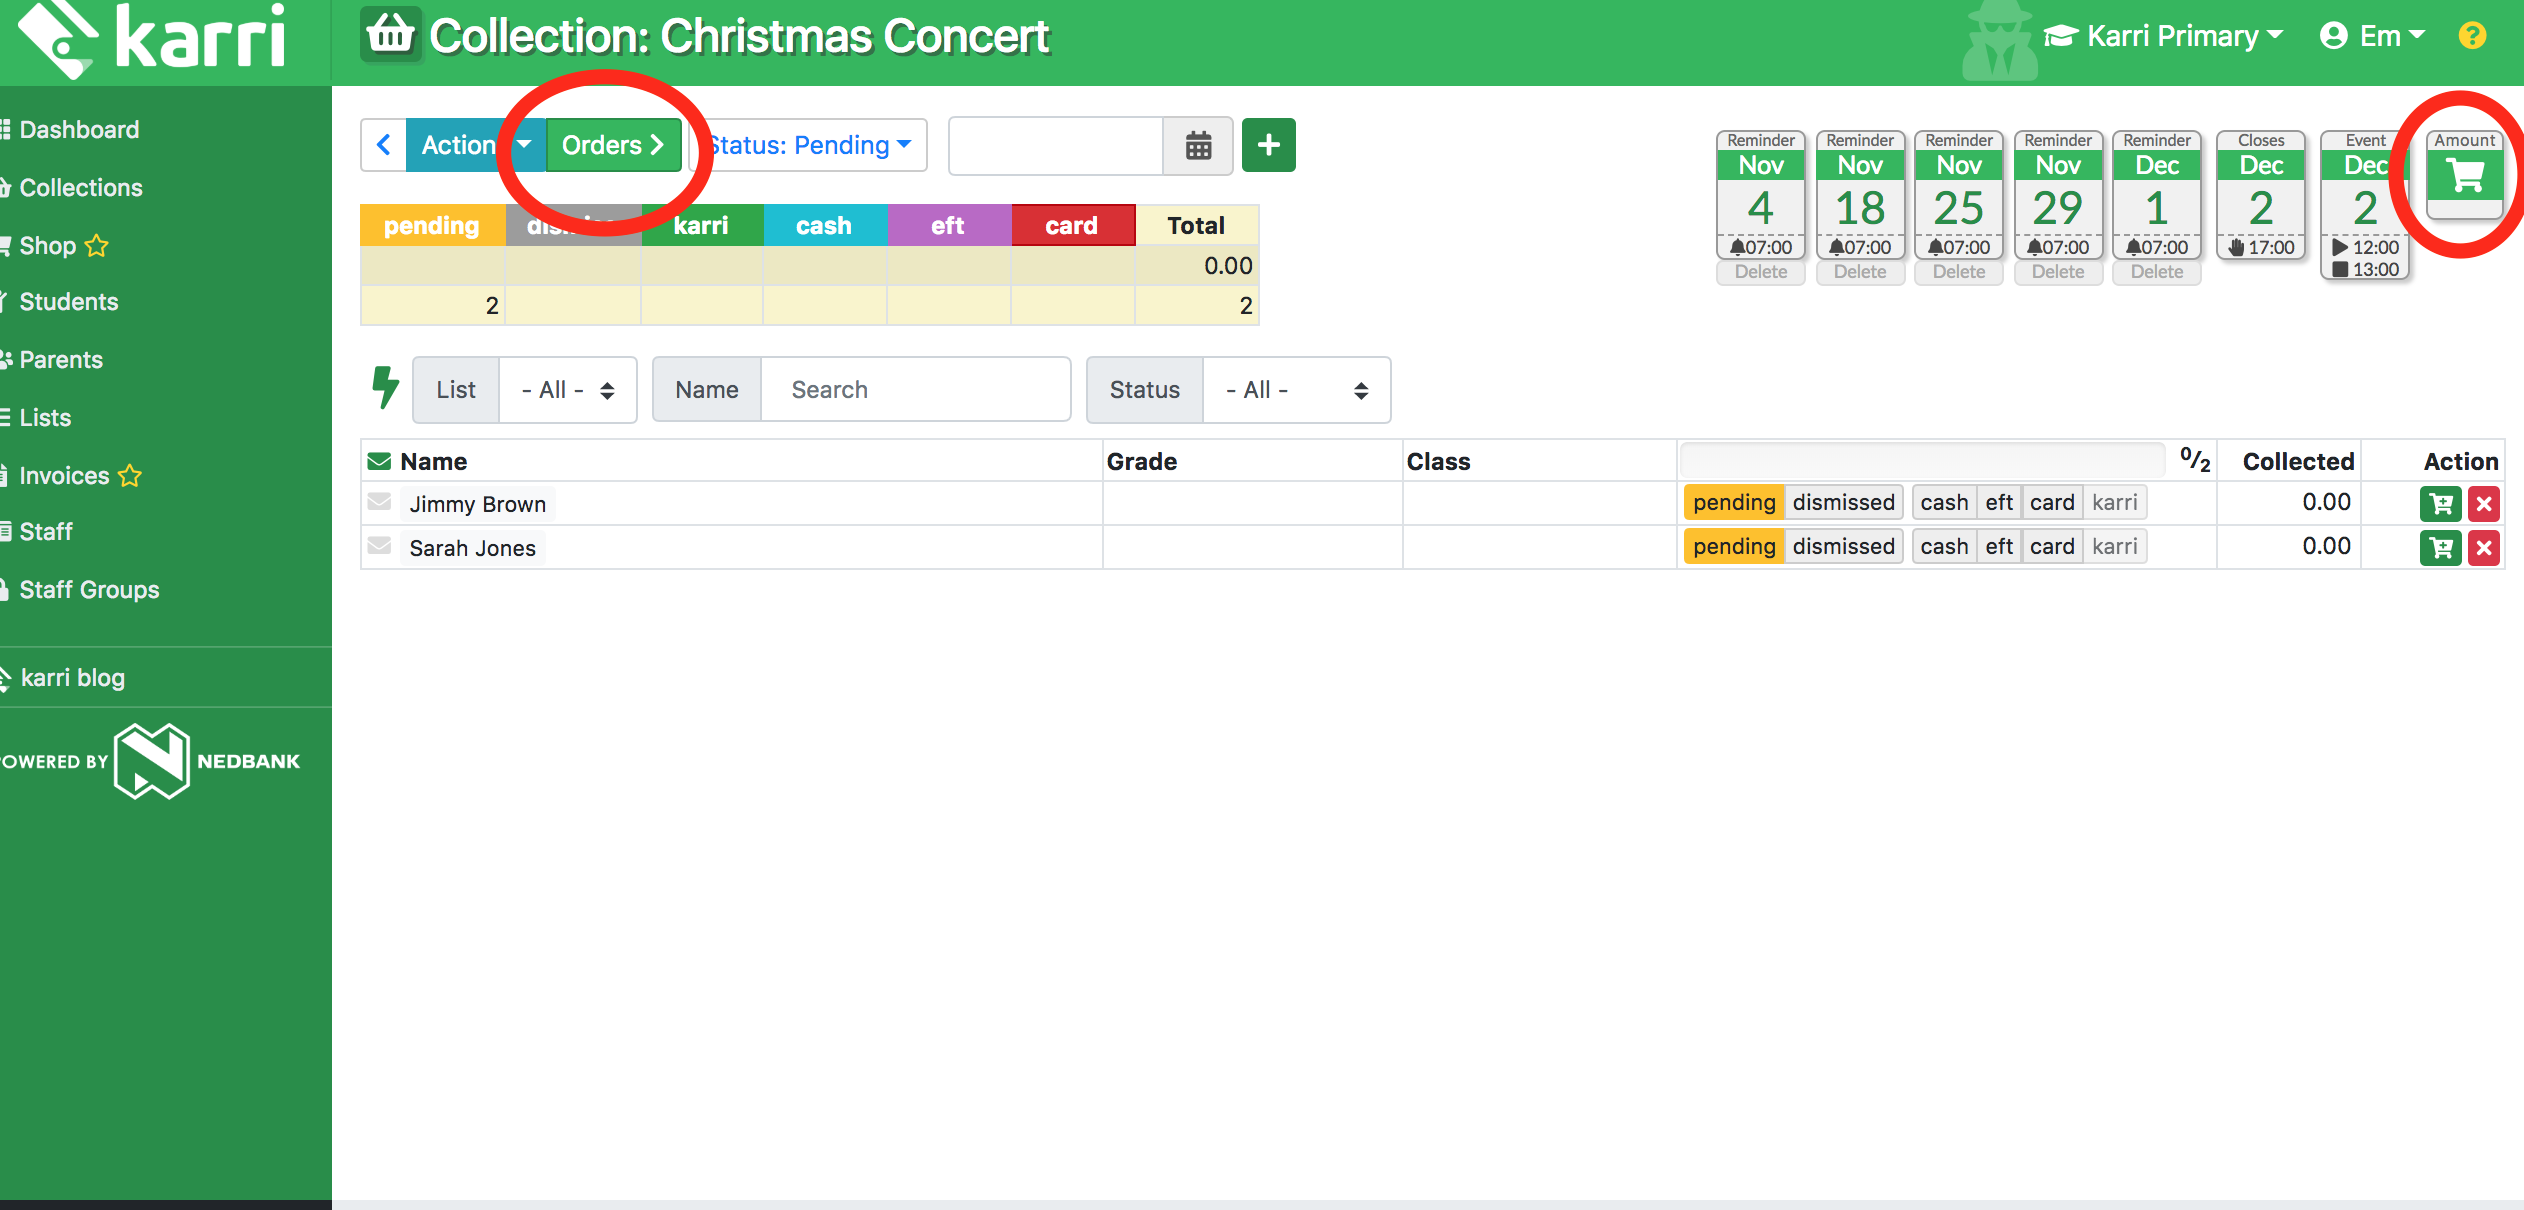
After your collection has been published, you’ll be able to view how many orders you have by simply pressing the Orders button or shopping cart icon.
Need more assistance? We’re on hand to help you out. Contact our support team on 021 300 1867

